
Welcome to the third part of our Peakboard Hub API series. To learn the basics, like how to get an API key and access token, see our getting started article.
A common use case for Peakboard Hub is using the Hub for data storage. That’s why the Hub API has endpoints for reading and writing data to a Hub list. We will discuss these endpoints in this article.
| Endpoint | Method | Description |
|---|---|---|
/v1/lists |
GET |
Return a list of all lists in the Hub. |
/v1/lists/list |
GET |
Return a Hub list. |
/v1/lists/list |
POST |
Return Hub list data by using a SQL statement. |
/v1/lists/items |
POST |
Add a new record to a Hub list. |
/v1/lists/items |
PUT |
Change the data of a record in a Hub list. |
/v1/lists/items |
DELETE |
Delete a record from a Hub list. |
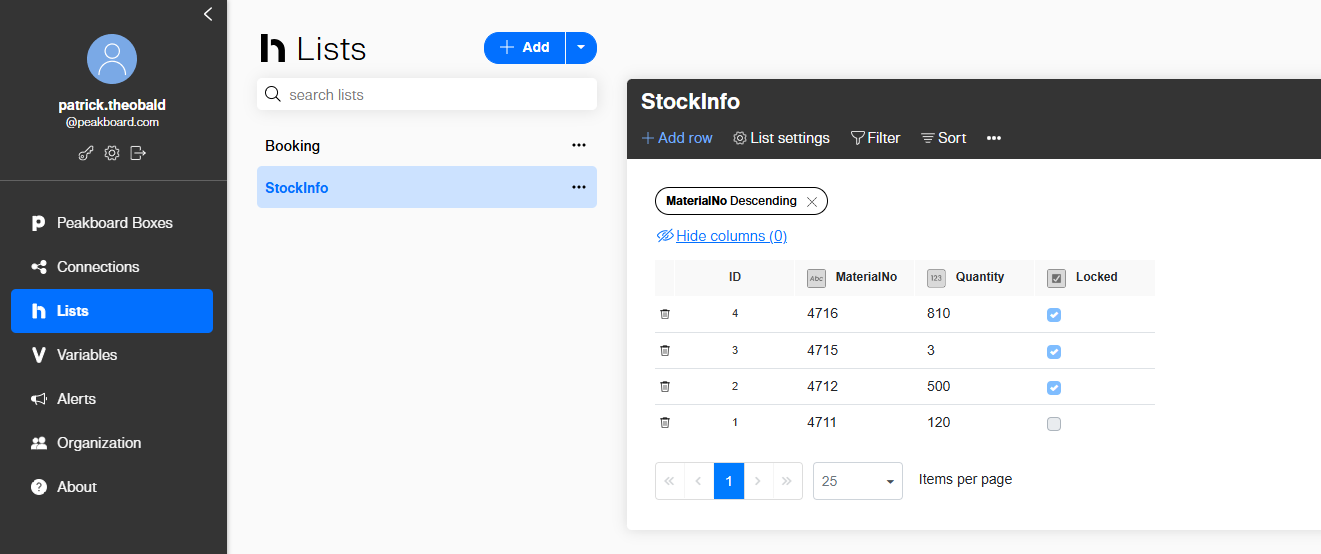
In this article, we will use the StockInfo list as an example.
The correct URL prefix (origin) depends on the version of Peakboard Hub that you’re using. This is the correct prefix for Peakboard Hub Online:
https://api.peakboard.comYou can also try out the different endpoints in the Swagger portal.
List all lists with GET /v1/lists
This endpoint returns a list of all available lists that are within the scope of the current API key context. Here is an example response:
[
  {
    "id": 1085,
    "name": "Booking"
  },
  {
    "id": 1084,
    "name": "StockInfo"
  }
]
Get the data with GET /lists/list
Using GET /lists/list is the easiest way to access the contents of a list. Here are the query parameters:
| Parameter | Description |
|---|---|
Name |
The name of the list. |
SortColumn |
The name of the column to use for sorting. |
SortOrder |
Either Asc for ascending or Desc for descending. |
SkipRows |
Omit a certain number of rows to enable pagination. |
MaxRows |
The maximum number of rows to return. |
Let’s build an example call that uses an HTTP GET request to get the row with the highest material number:
/v1/lists/list?Name=Stockinfo&SortColumn=MaterialNo&SortOrder=Desc&MaxRows=1Here’s the response to that call. It consists of an array of columns, including the metadata under the columns node. Under the items node, there’s an array of data rows. It’s a name-value pair array.
{
  "columns": [
    {
      "name": "ID",
      "elementName": "ID",
      "type": "Number"
    },
    {
      "name": "MaterialNo",
      "elementName": "MaterialNo",
      "type": "String"
    },
    {
      "name": "Quantity",
      "elementName": "Quantity",
      "type": "Number"
    },
    {
      "name": "Locked",
      "elementName": "Locked",
      "type": "Boolean"
    }
  ],
  "items": [
    [
      {
        "column": "ID",
        "value": 4
      },
      {
        "column": "MaterialNo",
        "value": "4716"
      },
      {
        "column": "Quantity",
        "value": 810
      },
      {
        "column": "Locked",
        "value": true
      }
    ]
  ]
}
SQL access to the data
The same endpoint, /lists/list, can also be used in a POST call to submit a SQL statement and let the Peakboard Hub Database do some work for you. This is the perfect way to aggregate the data before it’s returned to you. That way, there’s no need to transfer large batches of data when you only need an aggregated view.
Suppose we want to know the number of locked and unlocked stock records from our example table. Here is the correct SQL:
select Locked, count(*) as Counter from stockinfo group by lockedSo, we wrap this SQL statement into a JSON envelope and submit it in the body of a POST request to the API endpoint:
{
  "sql": "select Locked, count(*) as Counter from stockinfo group by locked"
}
Here’s the response:
{
  "columns": [
    {
      "name": "Locked",
      "elementName": "Locked",
      "type": "Boolean"
    },
    {
      "name": "Counter",
      "elementName": "Counter",
      "type": null
    }
  ],
  "items": [
    [
      {
        "column": "Locked",
        "value": false
      },
      {
        "column": "Counter",
        "value": 1
      }
    ],
    [
      {
        "column": "Locked",
        "value": true
      },
      {
        "column": "Counter",
        "value": 3
      }
    ]
  ]
}
Add new data with POST /v1/lists/items
The /v1/lists/items endpoint can be used for any sort of data manipulation. A POST call to this endpoint will create a new record. Here’s an example request body for record creation:
{
    "listName": "stockinfo",
    "data": {
        "MaterialNo": "0815",
        "Quantity": 5,
        "locked": false
    }
}
After a successful record creation, the API returns the entire record, including its ID, which identifies the record.
{
  "addedItem": [
    {
      "column": "ID",
      "value": 13
    },
    {
      "column": "MaterialNo",
      "value": "0815"
    },
    {
      "column": "Quantity",
      "value": 5
    },
    {
      "column": "Locked",
      "value": false
    }
  ]
}
Change data
To change an existing record in a list, we use the same endpoint as for data creation: /v1/lists/items. However, we use PUT instead of POST. The body is slightly different, because we need to provide the ID of the record to be changed. This example shows how to set the Quantity field to a new value:
{
  "rowId": 13,
  "listName": "stockinfo",
  "data": {
    "Quantity": 30
  }
}
If the action is successful, the response body will contain the corresponding state, to confirm:
{
  "state": "Success"
}
Delete data
To delete a record, we use an HTTP DELETE request. In the request body, we provide the name of the list and the ID of the record to be deleted:
{
  "listName": "stockinfo",
  "rowId": 13
}
The confirmation for the Peakboard server works similarly to the change of data:
{
  "state": "Success"
}