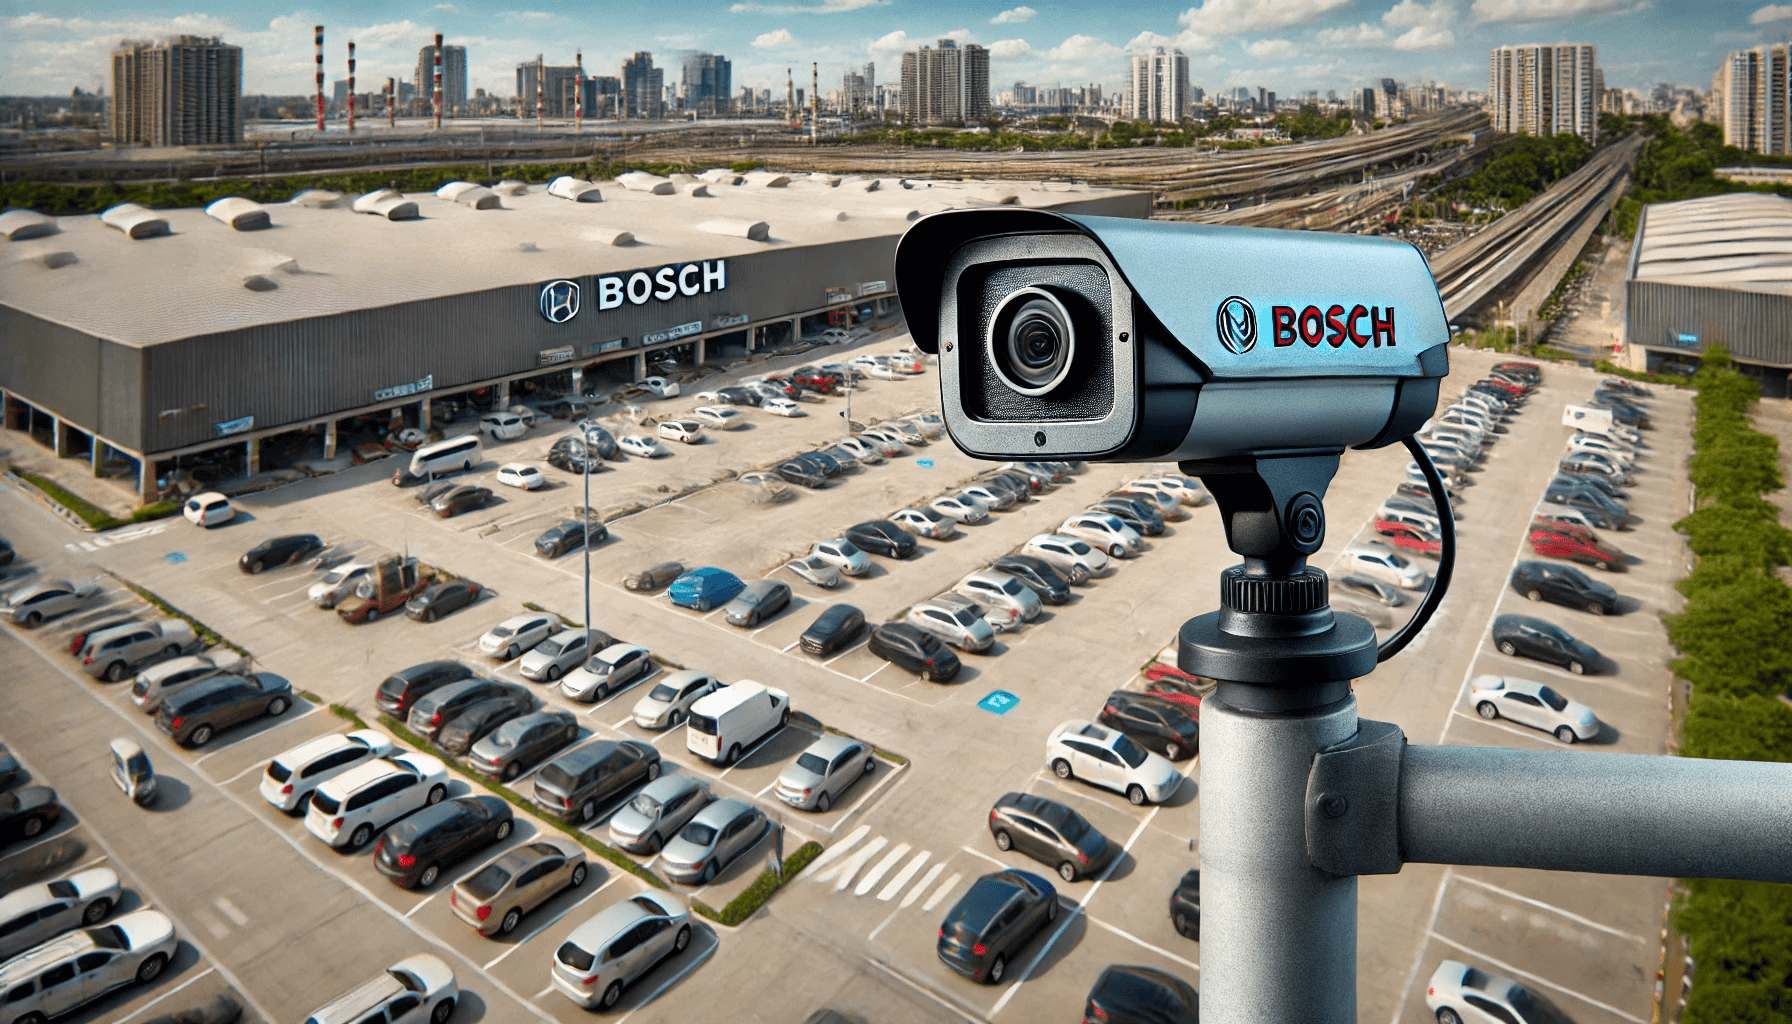
The German company Bosch offers an innovative camera called FLEXIDOME indoor 5100i IR - 8MP. Not only is it a normal security camera, but it also comes with a couple of interesting AI features for monitoring public spaces.
The camera can detect objects that are in its view. For example, it can detect people or vehicles and do a lot of magical stuff with this information.
In this article, we’ll give a brief overview of how to configure the Bosch camera and connect it to a Peakboard application. In the second part of this Bosch camera series, we’ll discuss options for integrating the camera image into a Peakboard dashboard.
There’s also a nice Youtube video that covers this topic.
The following picture highlights the problem we want to solve. It shows a bird’s-eye view of a parking lot. As you can see, there are two rows of parking.
We call the upper row of parking spots Lot A, and we call the bottom row Lot B. The objective is to build a dashboard that shows the current level of occupancy for these two lots.

Configure the camera
Every Bosch camera comes with a web interface. However, advanced settings can only be changed through a desktop application called the “Configuration Manager.”
The first thing we do is add the camera to the Configuration Manager. Then, we connect the camera to an MQTT broker. In our case, we choose the Peakboard MQTT broker for the templates, but any broker will do.

The real magic happens in the VCA > Tasks tab. Here, we can add “tasks.” A task sends an MQTT message whenever a specified trigger occurs. For our project, we need two tasks: one for Lot A and one for Lot B.

We select a trigger for our tasks. In our case, the trigger is “Object in field.”

We then apply the task to a field in the camera’s view. The following screenshot shows the task and field for Lot A. You can see the field highlighted in the camera’s view.

We also set the intersection trigger to “edge of box.” That way, even if only part of a car is in the field, it still triggers the event. Of course, we could also make it so that the whole car must be in the field, but that doesn’t make sense in our case.

Configure the data source
Let’s see what our task configuration looks like on the MQTT side. The camera generates an MQTT message each time a task is triggered or changes in some way.
The following screenshot shows the topics tree for the MQTT message, which goes all the way down to the payload:

Let’s take a look at the Peakboard side. In the data source, we define two subscriptions with the complex topics.
We use the simple data path Data.Count, so it’s not necessary to implement a script to get the actual value from the JSON message. The Peakboard engine does it for us and translates the JSON into a payload that can be used directly.

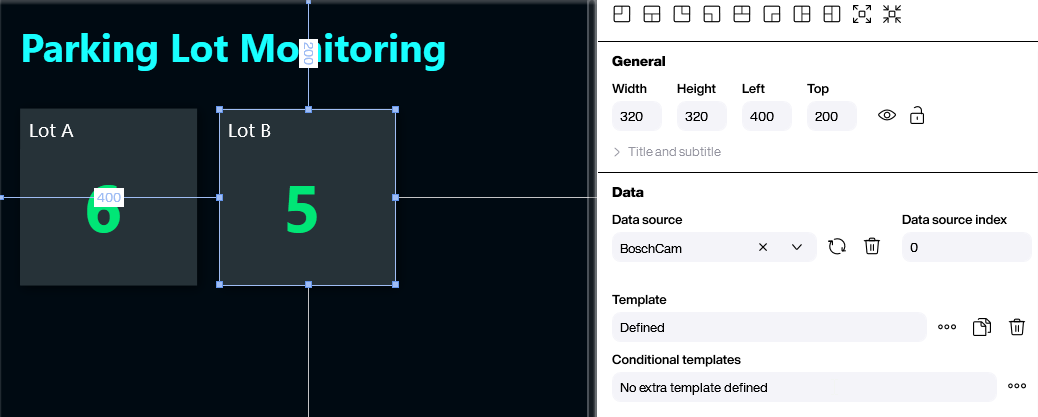
Then, we bind a nice tile to the two values of the data source.

Result
If you take a look at the final result, you can see how well the occupancy detection works. As soon as a car enters or leaves one of the two fields, the data is adjusted and reflected in the Peakboard screen. Cars outside the lots are not counted.

