
In another article, we talked about some basics around Shelly products.
In this article, we will use a Shelly Button1 to build an alarming system. The button press can send two levels of emergency to a Peakboard application, and then reset to a normal state. In a professional environment, it would be possible to use this pattern to give an end user the option to call for help, call for missing material at an assembly line, etc….
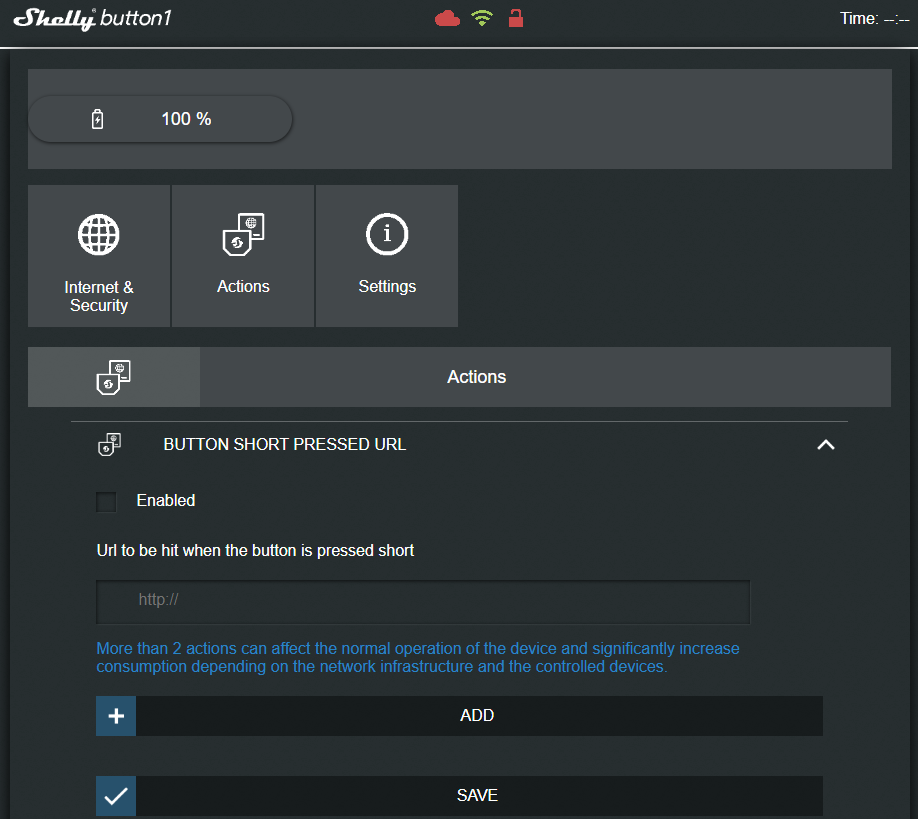
The web interface of Shelly Button1
Please refer to the official documentation for how to integrate the Shelly Button into your local Wi-Fi. Then, access the web interface of the Button for the configuration. When you click on Actions, you can put HTTP calls behind the different button press events (single, double, triple, long). This would be perfect for letting the Shelly Button call an external Peakboard function—then, we’d be done within minutes. The problem is: When calling an external Peakboard function, we must use an HTTP POST call, but Shelly only supports sending HTTP GET calls. Unfortunately, this is an unsolvable problem, unless you use an additional layer that transforms the HTTP GET call into an HTTP POST call. So we look for another option and ignore this feature.
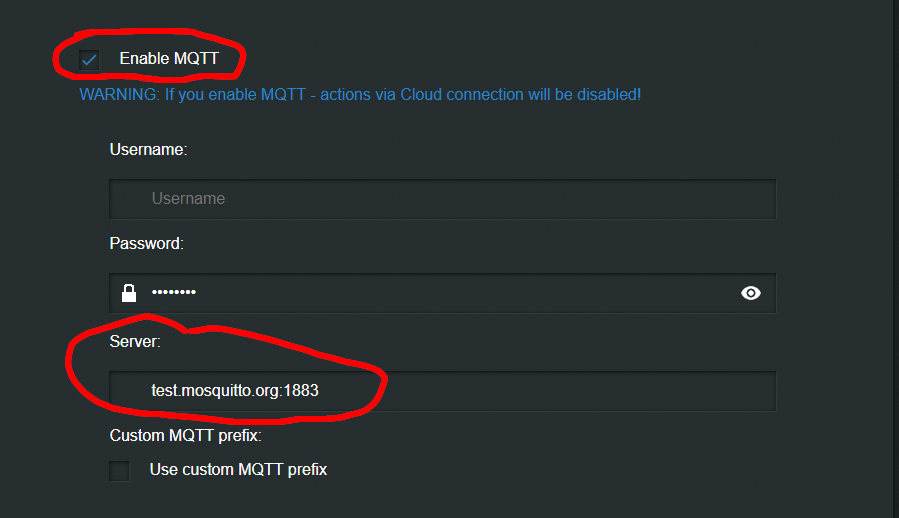
Configuring Shelly’s MQTT
The second best option is to use MQTT to let Peakboard and Shelly communicate. In Shelly’s web interface, you can access the MQTT pane through Internet & Security and ADVANCED - DEVELOPER SETTINGS. As you can see in this screenshot, we are using the Mosquitto MQTT broker to exchange messages and enable MQTT.
When MQTT is enabled, the button sends state messages to the MQTT broker. The topic is shellies/shellybutton1-<deviceid>/input_event/0. The device ID depends on the button; you can check Settings -> Device Info to find it. The JSON message looks like this:
{
    "event":"S",
    "event_cnt":2
}
The events can be S for a single click, SS for a double click, or L for a long click. The attribute event_cnt counts the number of clicks since the last reboot of the button. That’s all the information we need to proceed.
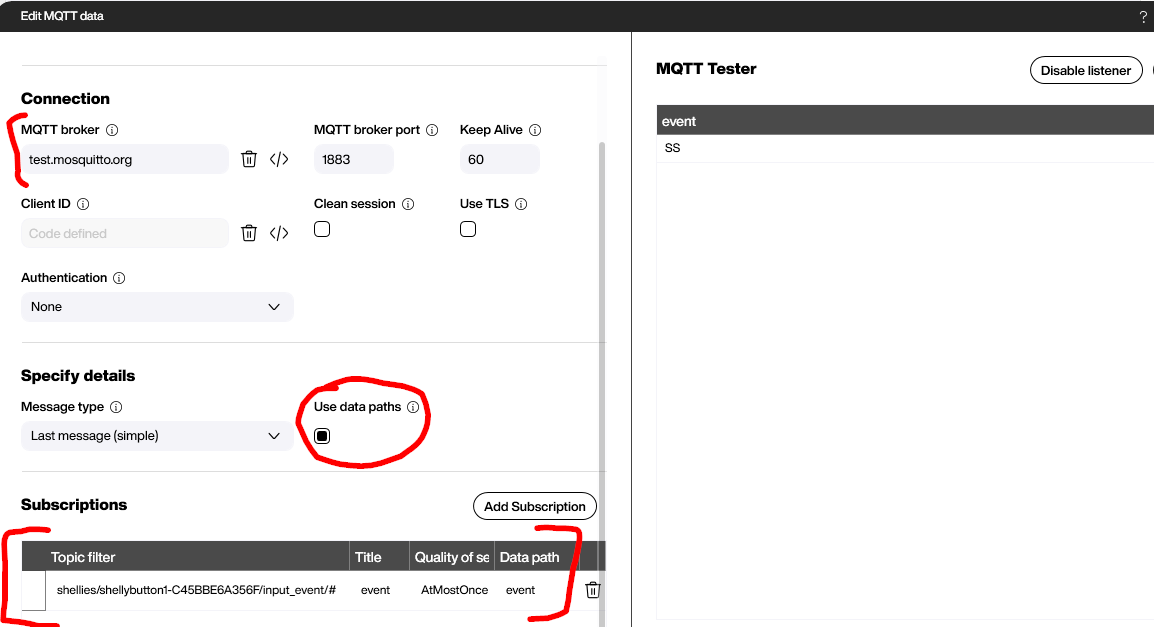
Building the Peakboard application
On the Peakboard side, the magic happens in an MQTT data source. We connect to the known MQTT broker. The topic to subscribe to is explained above, and we provide a path that points to the event-Node within the JSON, so we don’t need to worry about how to turn the JSON into usable information. As you see in the preview data, the SS value for the double click is extracted and shown.
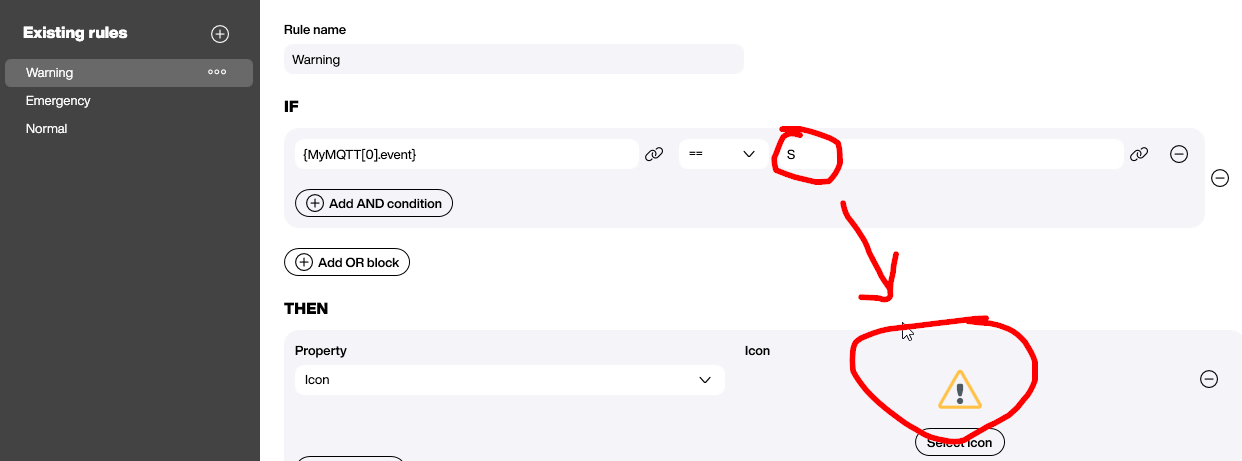
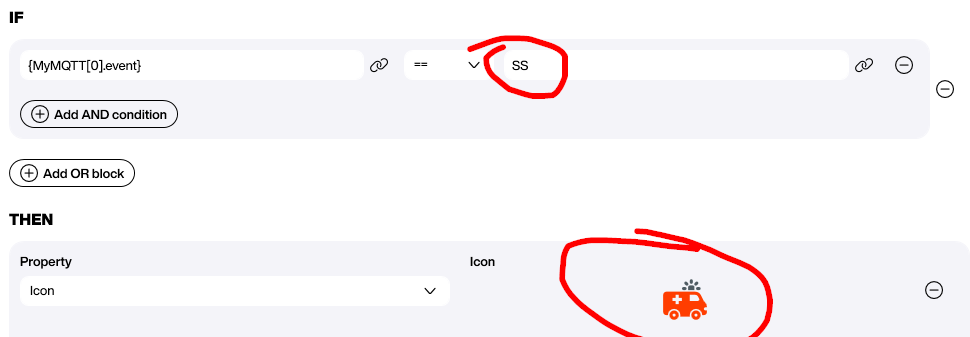
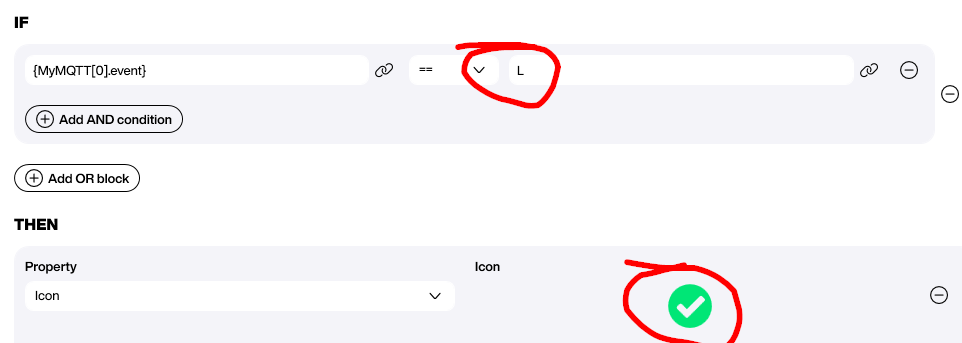
The actual visualization is done with an Icon control. The switching between the three states is done with Conditional Formatting, so there’s no coding, no scripts, and no blocks.

Finally, here you can see how the board works in real life….