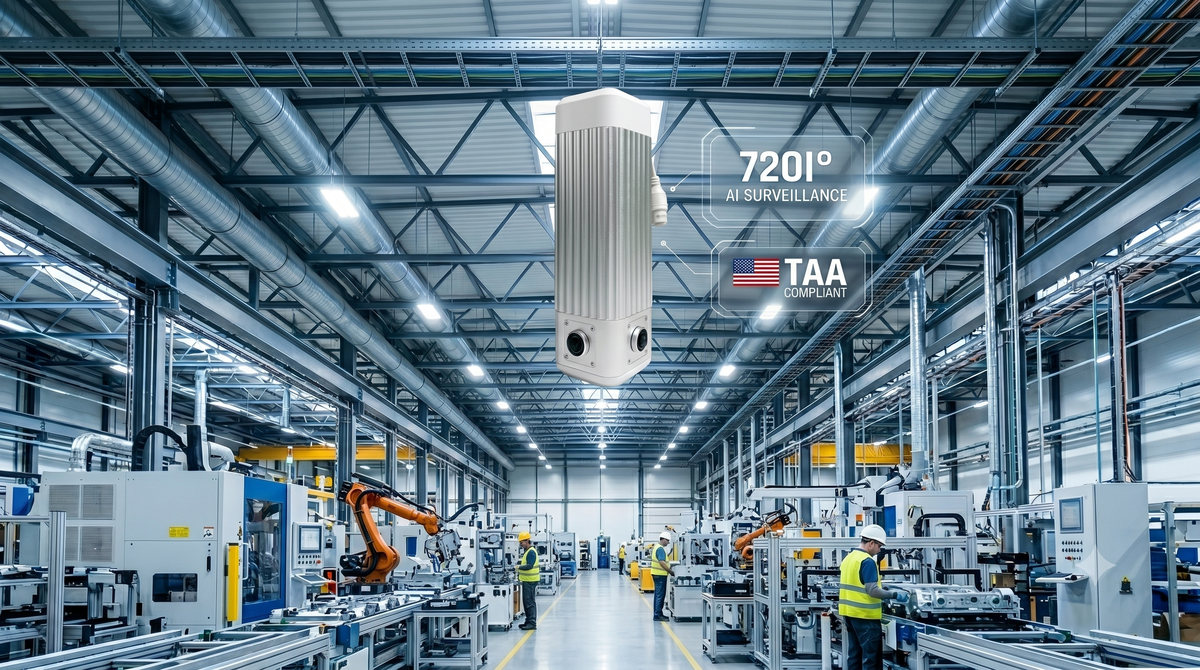
Most factory and retail cameras are essentially flat slices of the world: point them somewhere, hope nothing interesting happens behind them. The GVision 360° and 720° AI surveillance cameras take the opposite approach - four CMOS sensors edge-stitched in real time, a built-in NPU for on-device inference, and a single device that covers an entire room (or, in the 720° model, an entire sphere) without a blind spot. They stream over RTSP and ONVIF Profile S, with a documented API for everything beyond the video - exactly the combination we like to see when we are about to build an industrial dashboard. In this article we wire both halves into Peakboard: the live video stream rendered as a control on a screen, and the API hooked up as a control channel we can drive from the same Designer project.
Pulling the RTSP stream onto a screen
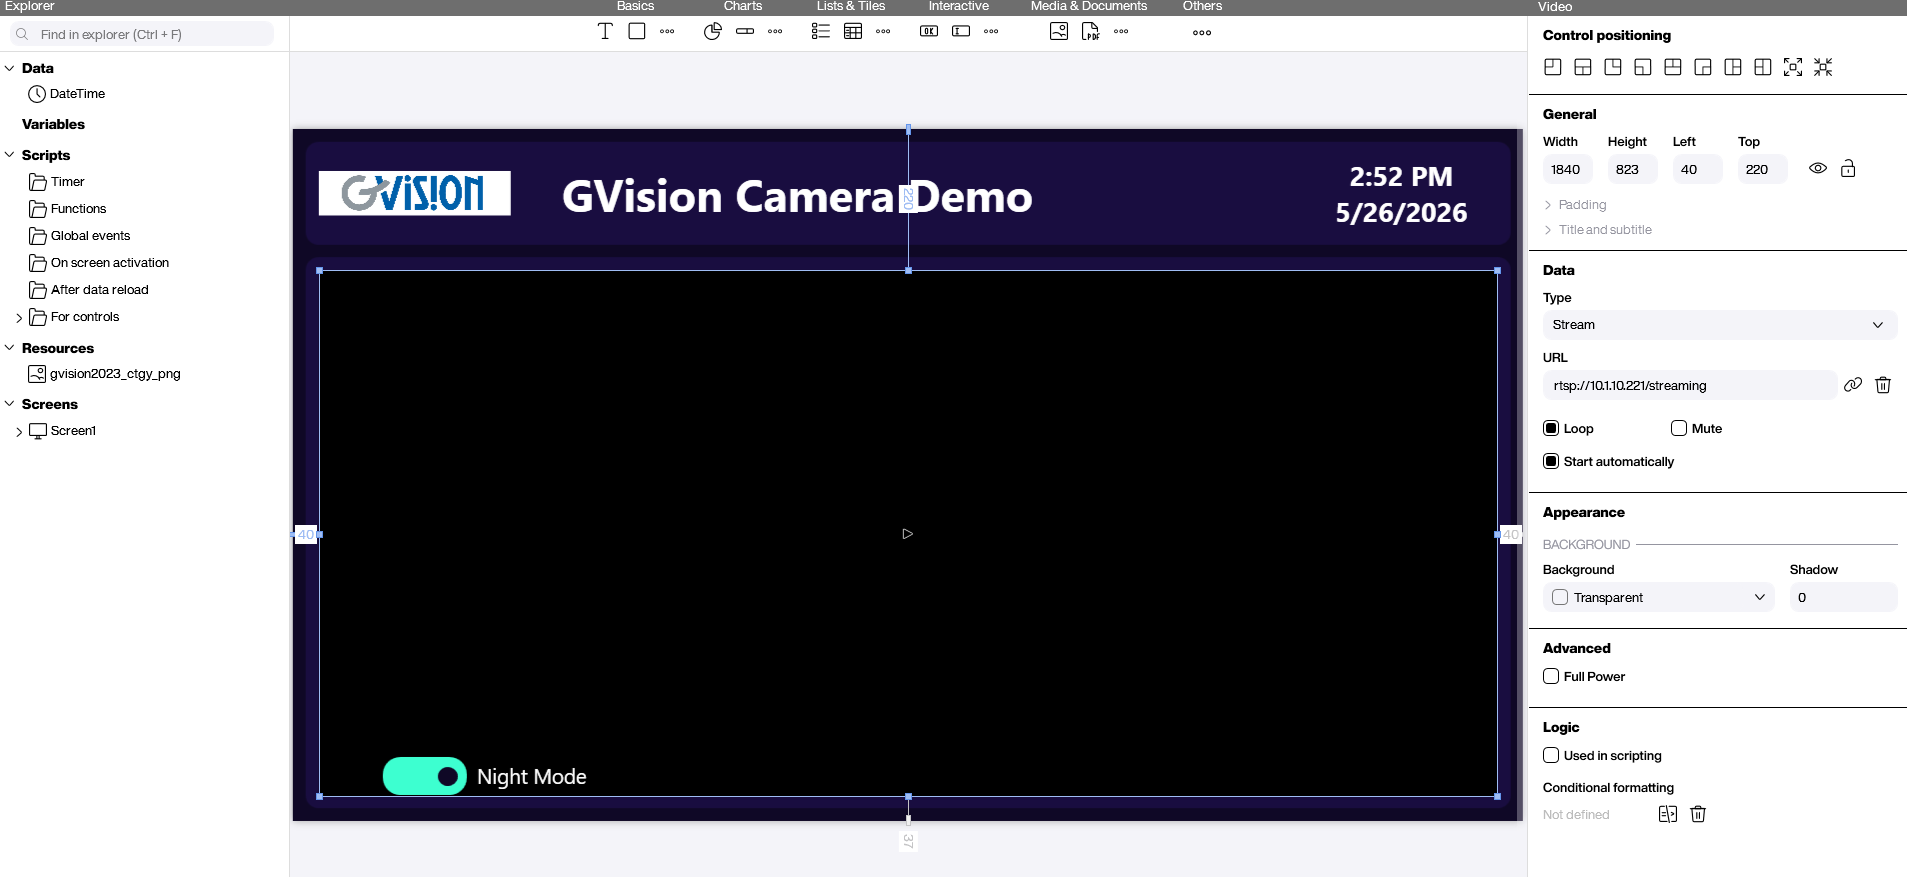
The simplest piece is the live picture. Peakboard ships with a video control out of the box, so we drop it onto the screen, point it at the camera’s RTSP URL, and we are done. The GVision exposes its stitched panoramic stream over RTSP following the ONVIF Profile S convention - the property on the control ends up looking like rtsp://<camera-ip>/<stream-path>. As soon as we save the project, the full 360° image renders inside the control at native frame rate, and from there it behaves like any other Peakboard surface: we can layer markers, overlays, or interactive zones on top of it.
Driving the camera through the ONVIF API
A live picture is half the story; the other half is talking back to the camera. The GVision speaks ONVIF over SOAP, which is exactly what we need in order to change settings like image profile, brightness, contrast, or - in our example - the day/night profile, all without leaving Peakboard. We build the SOAP envelope as a plain XML string, post it to the camera’s /onvif/Imaging endpoint with a Content-Type: application/soap+xml header, and read the HTTP status back to confirm the call landed.
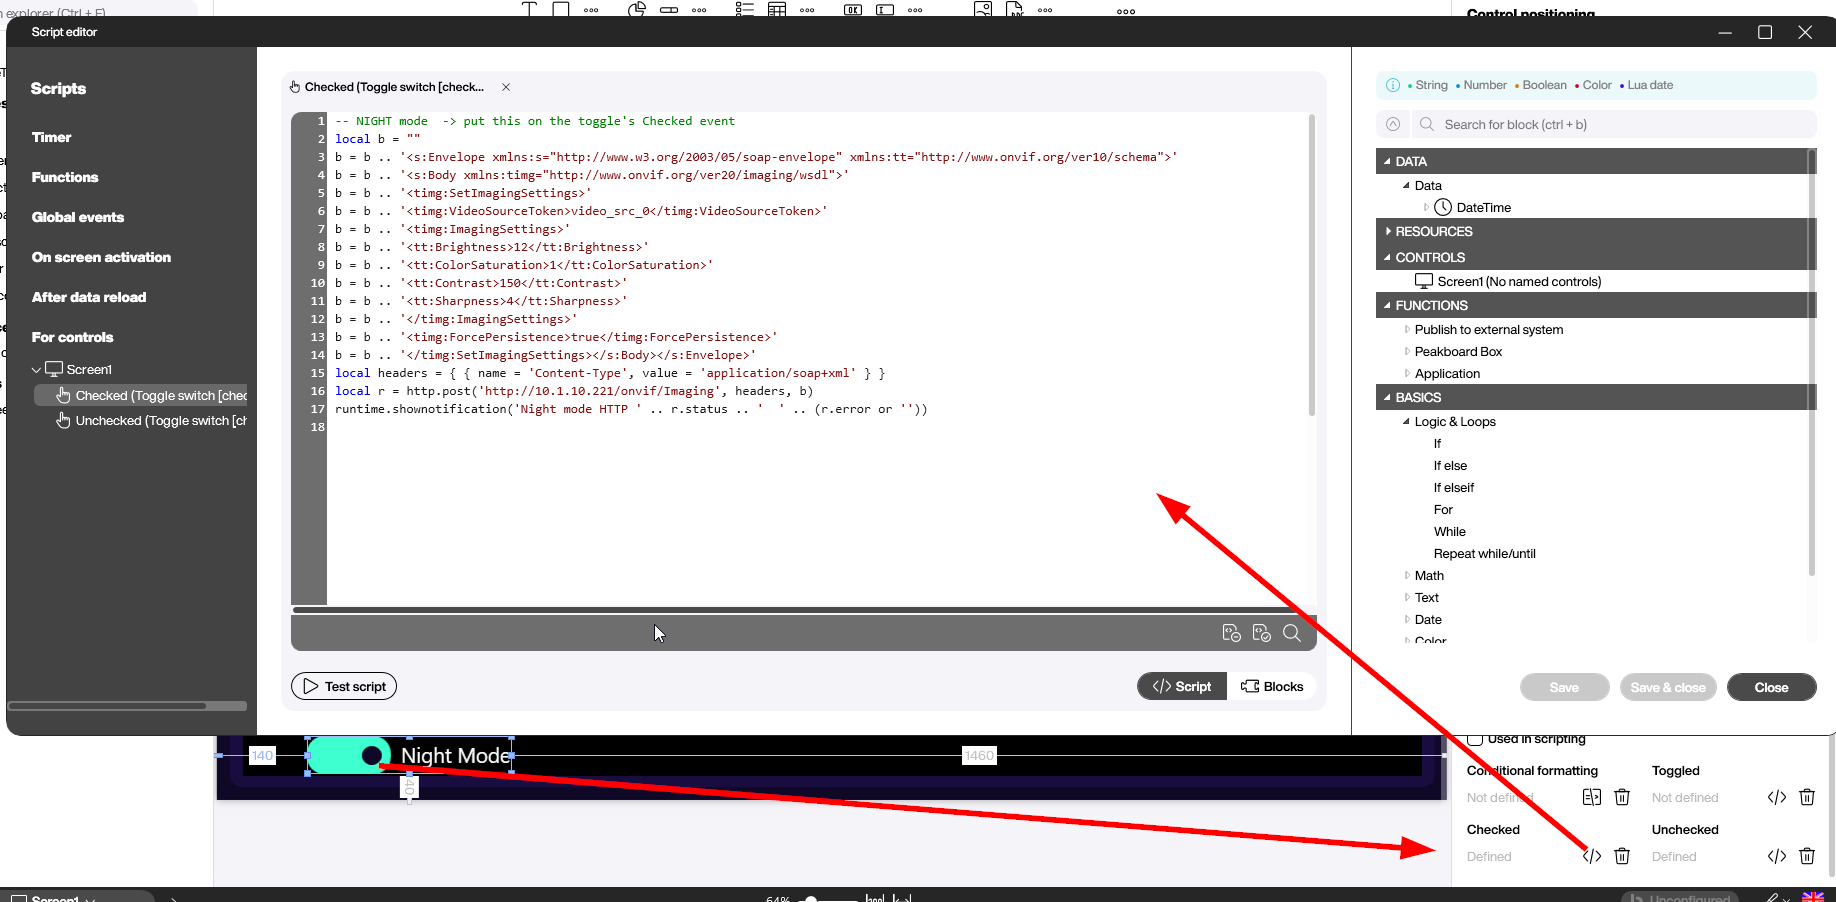
In the project we wire this to a Lua script attached to a toggle’s Checked event - flipping the toggle on pushes the night-mode profile to the camera, and the Unchecked event runs the mirror version with the daytime values. The code below is the night-mode branch in full, including the exact imaging values we landed on for our test camera:
-- NIGHT mode  -> put this on the toggle's Checked event
local b = ""
b = b .. '<s:Envelope xmlns:s="http://www.w3.org/2003/05/soap-envelope" xmlns:tt="http://www.onvif.org/ver10/schema">'
b = b .. '<s:Body xmlns:timg="http://www.onvif.org/ver20/imaging/wsdl">'
b = b .. '<timg:SetImagingSettings>'
b = b .. '<timg:VideoSourceToken>video_src_0</timg:VideoSourceToken>'
b = b .. '<timg:ImagingSettings>'
b = b .. '<tt:Brightness>12</tt:Brightness>'
b = b .. '<tt:ColorSaturation>1</tt:ColorSaturation>'
b = b .. '<tt:Contrast>150</tt:Contrast>'
b = b .. '<tt:Sharpness>4</tt:Sharpness>'
b = b .. '</timg:ImagingSettings>'
b = b .. '<timg:ForcePersistence>true</timg:ForcePersistence>'
b = b .. '</timg:SetImagingSettings></s:Body></s:Envelope>'
local headers = { { name = 'Content-Type', value = 'application/soap+xml' } }
local r = http.post('http://10.1.10.221/onvif/Imaging', headers, b)
runtime.shownotification('Night mode HTTP ' .. r.status .. '  ' .. (r.error or ''))
The VideoSourceToken of video_src_0 and the IP address 10.1.10.221 need swapping out for the specific camera we are pointing at - everything else maps directly onto the ONVIF Imaging service spec. ForcePersistence=true is what makes the change survive a reboot. The day-mode branch lives on the Unchecked event and is exactly the same envelope with the daytime tuning values plugged in.
Conclusion
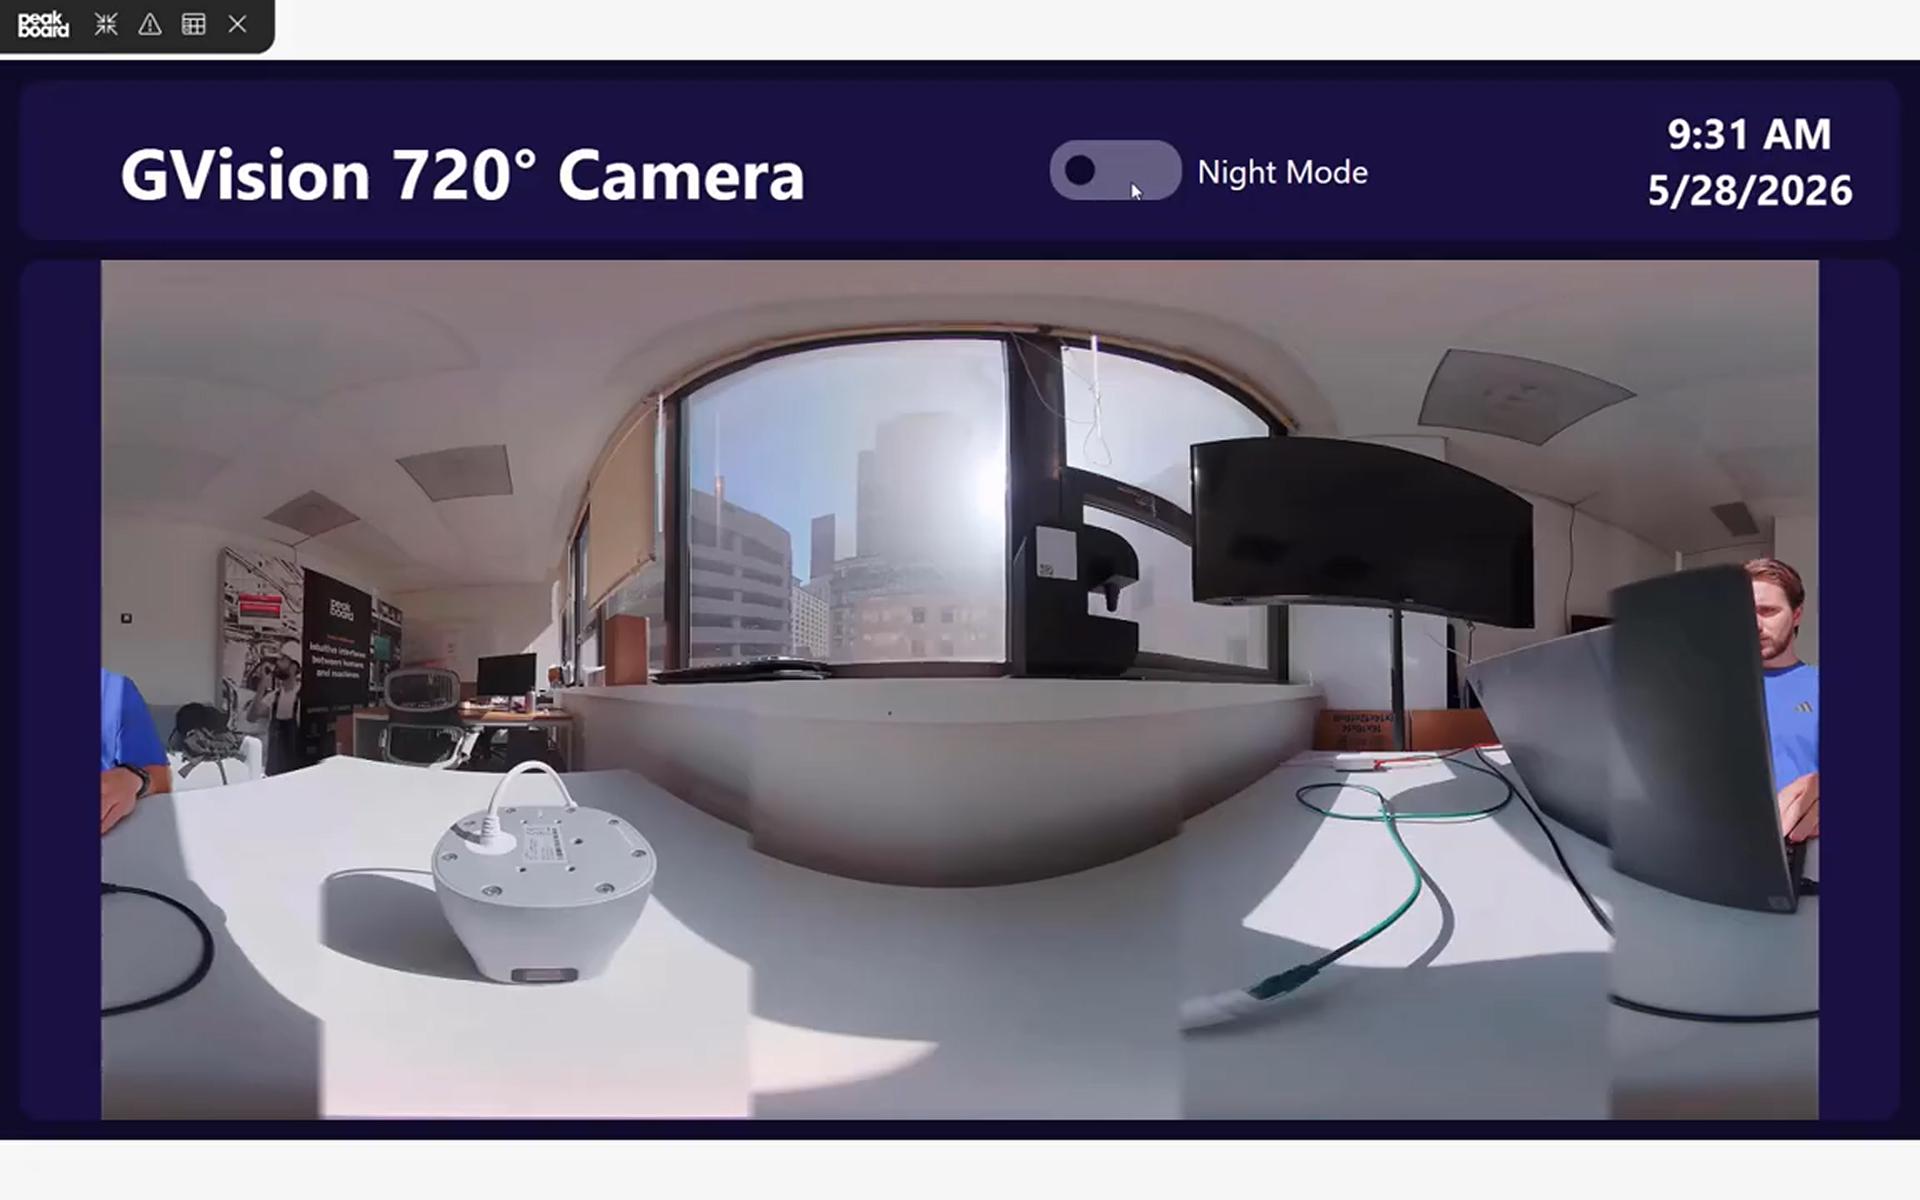
The result is a single Peakboard screen that shows the stitched 360° picture live, with a toggle in the corner that switches the camera between day and night profiles on demand.
Two integration points, two surface areas of the camera covered: RTSP as the live image, and ONVIF SOAP as the control channel. From here it is the usual Peakboard composition exercise - alarms tied to camera events, KPI tiles overlaid on top of the video, a tabbed view across multiple cameras - all without leaving the Designer.