
Wheel.me is a Norwegian company with a revolutionary concept for building autonomous vehicles. They don’t actually sell an entire vehicle. Instead, they sell four intelligent wheels that can be mounted to all kinds of pallets or other trays, to transport them within a factory. The wheels have access to the local Wi-Fi, and they connect to a software backbone that’s either hosted on AWS or on prem.
This article explains how to use Peakboard to build an interface with the wheel.me backbone. In this article, we will see how to get information about the environment, like the floors, position, and robots. In the second part of this topic, we will focus on commanding the robots to move to certain positions and build an interactive logic for the wheel.me environment.
Set up the extension
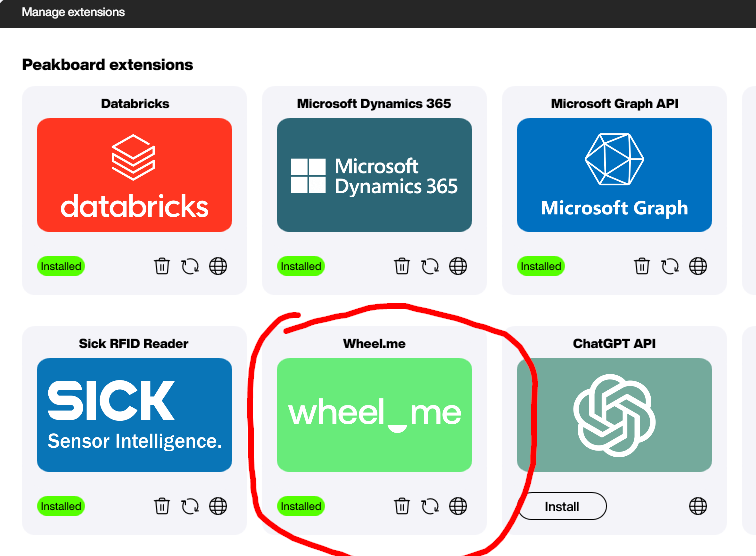
The wheel.me API isn’t too complicated, and it can be used in Peakboard directly. But to make our lives easier, we can use the wheel.me extension that’s available in the extension menu. For information about how to install an extension, see the Manage extensions documentation.
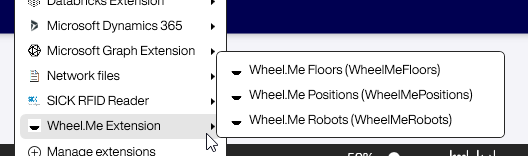
After the installation, three lists are available:
- One for the floors
- One for the positions on a certain floor
- One for the robots on a certain floor
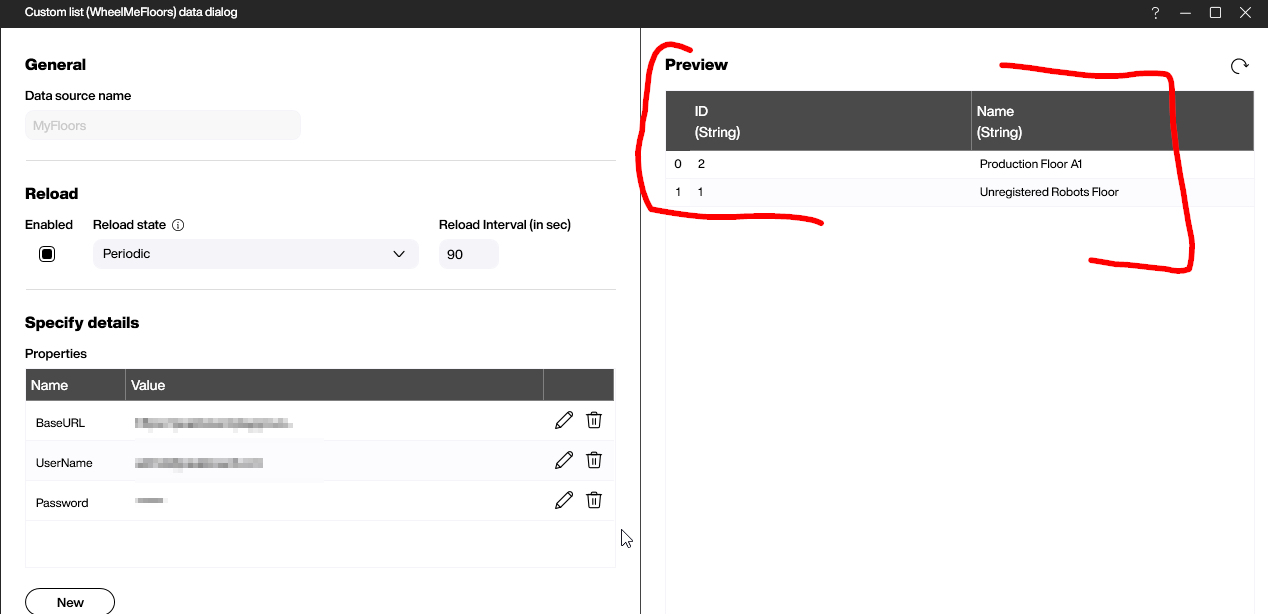
You will need a regular account with enough permissions to access the API of the wheel.me backbone. All three lists of the extension need the credentials (username and password), as well as the base URL, usually in the form of https://XXX.wheelme-web.com/. Make sure to end the base URL with /.
The following screenshot shows the “floors” list. After entering the basic data, we can list all available floors. It’s important to remember the floor ID, because we will need it later for the robots.
Query the positions
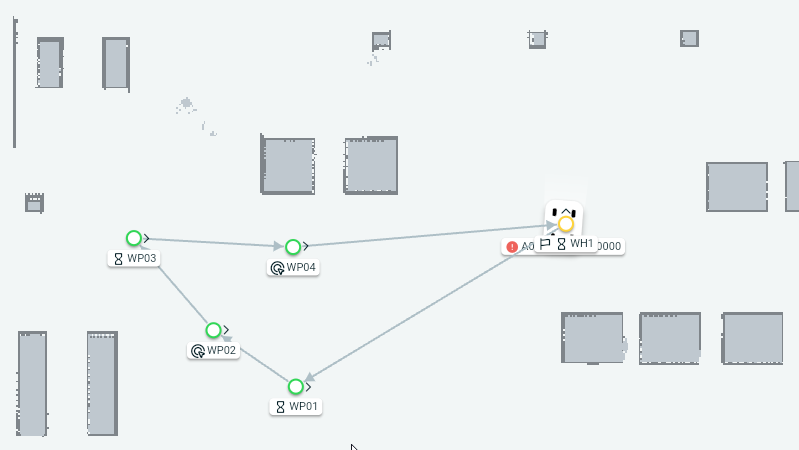
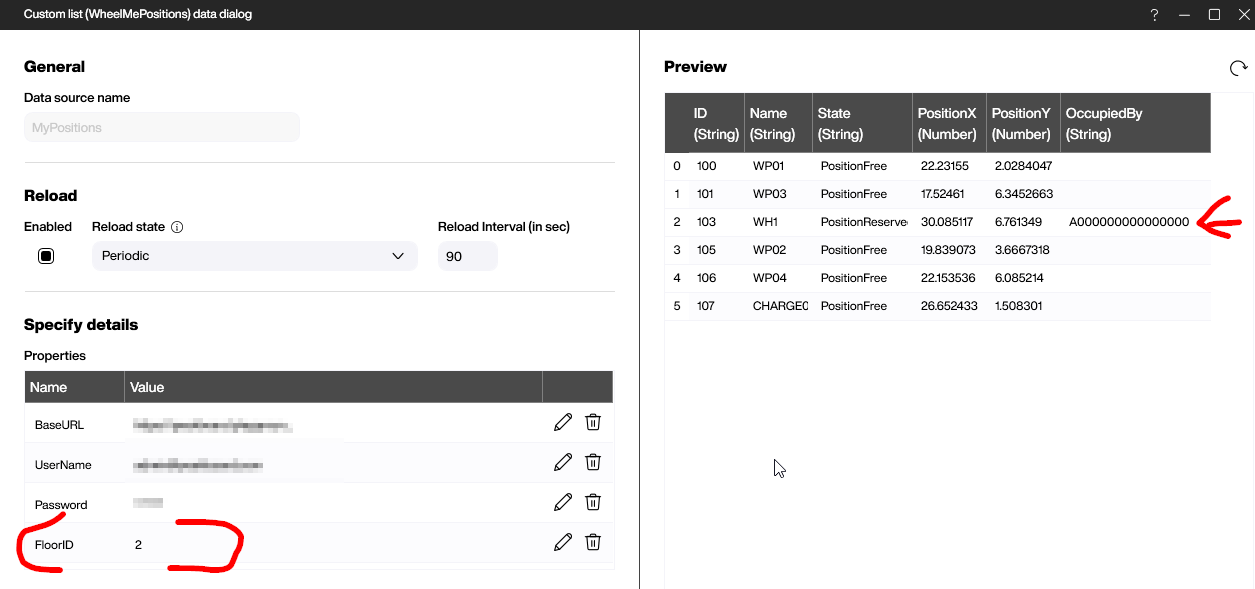
In our example environment, we have a total of six positions. Besides the five regular points, there’s also one point for charging. Our floor has one robot, and as we can see in the map, it is located in position WH1, and is facing north.
Let’s check the output of the “position” data source. We must provide the floor ID to identify the floor we want query. In the list, we can see all the positions from the above screenshot, along with metadata like the physical coordinates and the current state. The state can be either Free or Reserved. And we can also see that the position WH1 is occupied with a robot.
Query the robots
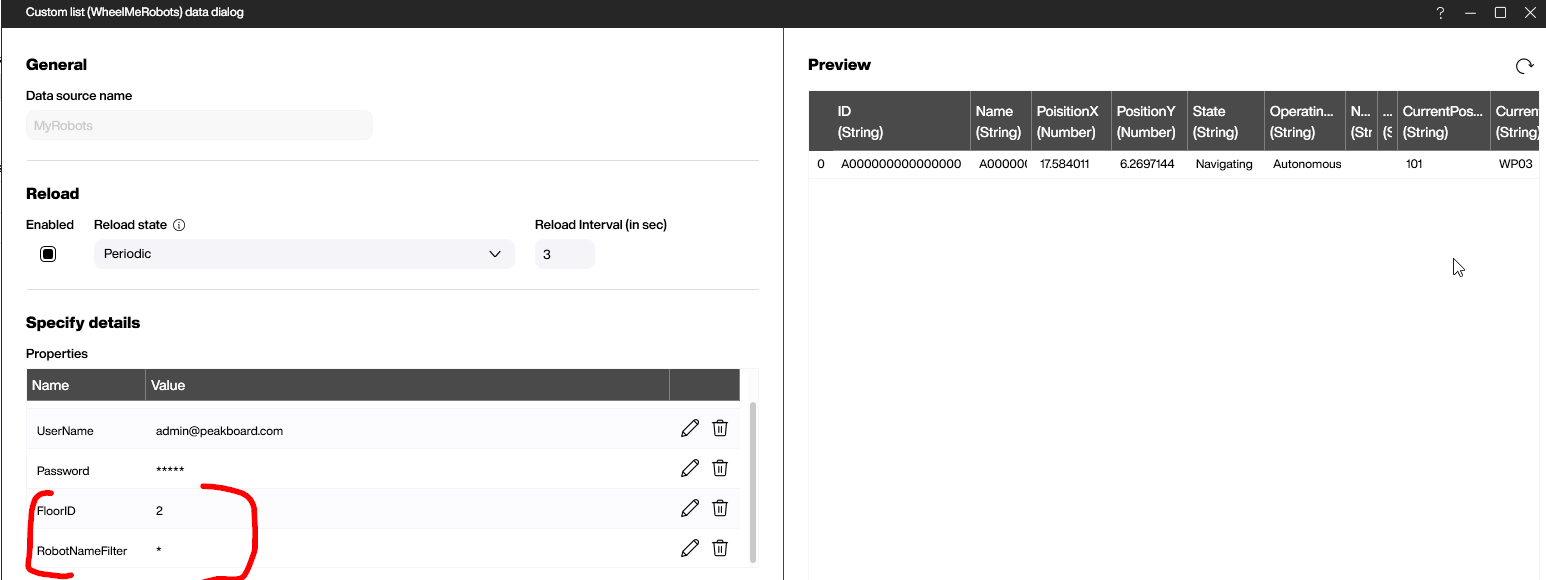
The robot data source shows the dynamic aspects of the scenery. As shown in the following screenshot, we need to provide the floor ID again.
We can also provide a filter for the name. This might be important if we have multiple robots on the floor. Then, we could make sure that there’s always one dedicated robot for each data source, by using this filter. That way, it’s much easier to access the data of the robot we want, because we don’t need to look up the robot in a list. Instead, we can always take the first line of the data source.
But again, this only applies when we have more than one robot on the floor.
Besides the physical coordinates, we can also see the state (like Navigating or Idle) and the mode (like Autonmous or manual). Most important is the location information: the position the robot is navigating to, as well as the position the robot is currently located at (for each, both the ID and the name of the position is provided).
Result and conclusion
Getting the necessary metadata, along with the robot position data, is not too complicated. With these data sources, it’s easy to build Peakboard applications that show the location and status of wheel.me robots.
In the second part of this article, we will learn how to command the robot to move to certain positions, as well as build a logic around missions.