In this blog, we’ve discussed a few different ways to integrate sensors into a Peakboard application. You can see an overview of these articles in The hitchhiker’s guide to I/O devices.
In today’s article, we’ll take a look at a sophisticated and slightly more expensive type of I/O module—an IO-Link master.
The main difference between the IO-Link master and other I/O modules is that the IO-Link doesn’t use blank wires to connect the sensors. Instead, it uses the IO-Link plug. A sensor must provide this IO-Link plug in order to be used with an IO-Link master.
The IO-Link master we’ll use in this article is the Pepperl+Fuchs IO-Link-Master ICE2-8IOL-G65L-V1D.

And the sensor we’ll use is the Pepperl+Fuchs UC250-F77-EP-IO-V31. This is an ultrasonic distance sensor that measures the distance to the next object that’s within range of the sensors, with the help of ultrasonic sound waves.
It can check if an area is occupied by something (e.g. if there is a person standing nearby). It can also tell if an object is passing by and how far away it is.

IO-Link master configuration
Like other I/O modules, the IO-Link master comes with a web interface. The way an IO-Link device works is specified by an IODD file (IO device description file).
The easiest way to get the IODD file for our sensor is to go to the IODD Finder website and enter our sensor’s exact name.
Then, we go to the web interface for our IO-Link master and navigate to Attached Devices > IODD FILES. There, we can upload the IODD file to the IO-Link master.

We plugged our sensor into the physical port 3. So, when we switch to the Port 3 tab, we can see the details of the sensor provided by the vendor, in the IODD file. The unique product ID helps match the physical sensor and the IODD file.

Access the data from Peakboard
There are several ways to access the IO-Link master from the data consumer side. Of course, it comes with a built-in MQTT connection, which is always a good choice. But for this next step, we will use the built-in OPC UA server endpoint. Using OPC UA over MQTT in this context has two advantages:
- The OPC UA option comes with a server, so we can connect Peakboard directly to the IO-Link master, while MQTT requires a broker in between.
- With the IODD file, the IO-Link master knows exactly what kind of data is coming from the sensor and how to interpret it. So we don’t need to worry too much about looping though JSON or other data conversions. We can just drag and drop the ready-to-use value from the OPC UA source.
So, we create a new OPC UA data source, and we add two subscriptions. The OPC UA nodes can be drilled through, and here, we see the full power of the IO-Link and IODD file procedure.
You can see that the correct metadata is shown under the corresponding port and attached device. The OPC UA server already “knows” that the sensor has two relevant data values:
- Whether there’s an object within the scope of the sensor
- The distance of the object
And the correct data types are reflected here. We can even see a brief description of the value on the right side.

This is what the fully set up data source looks like:

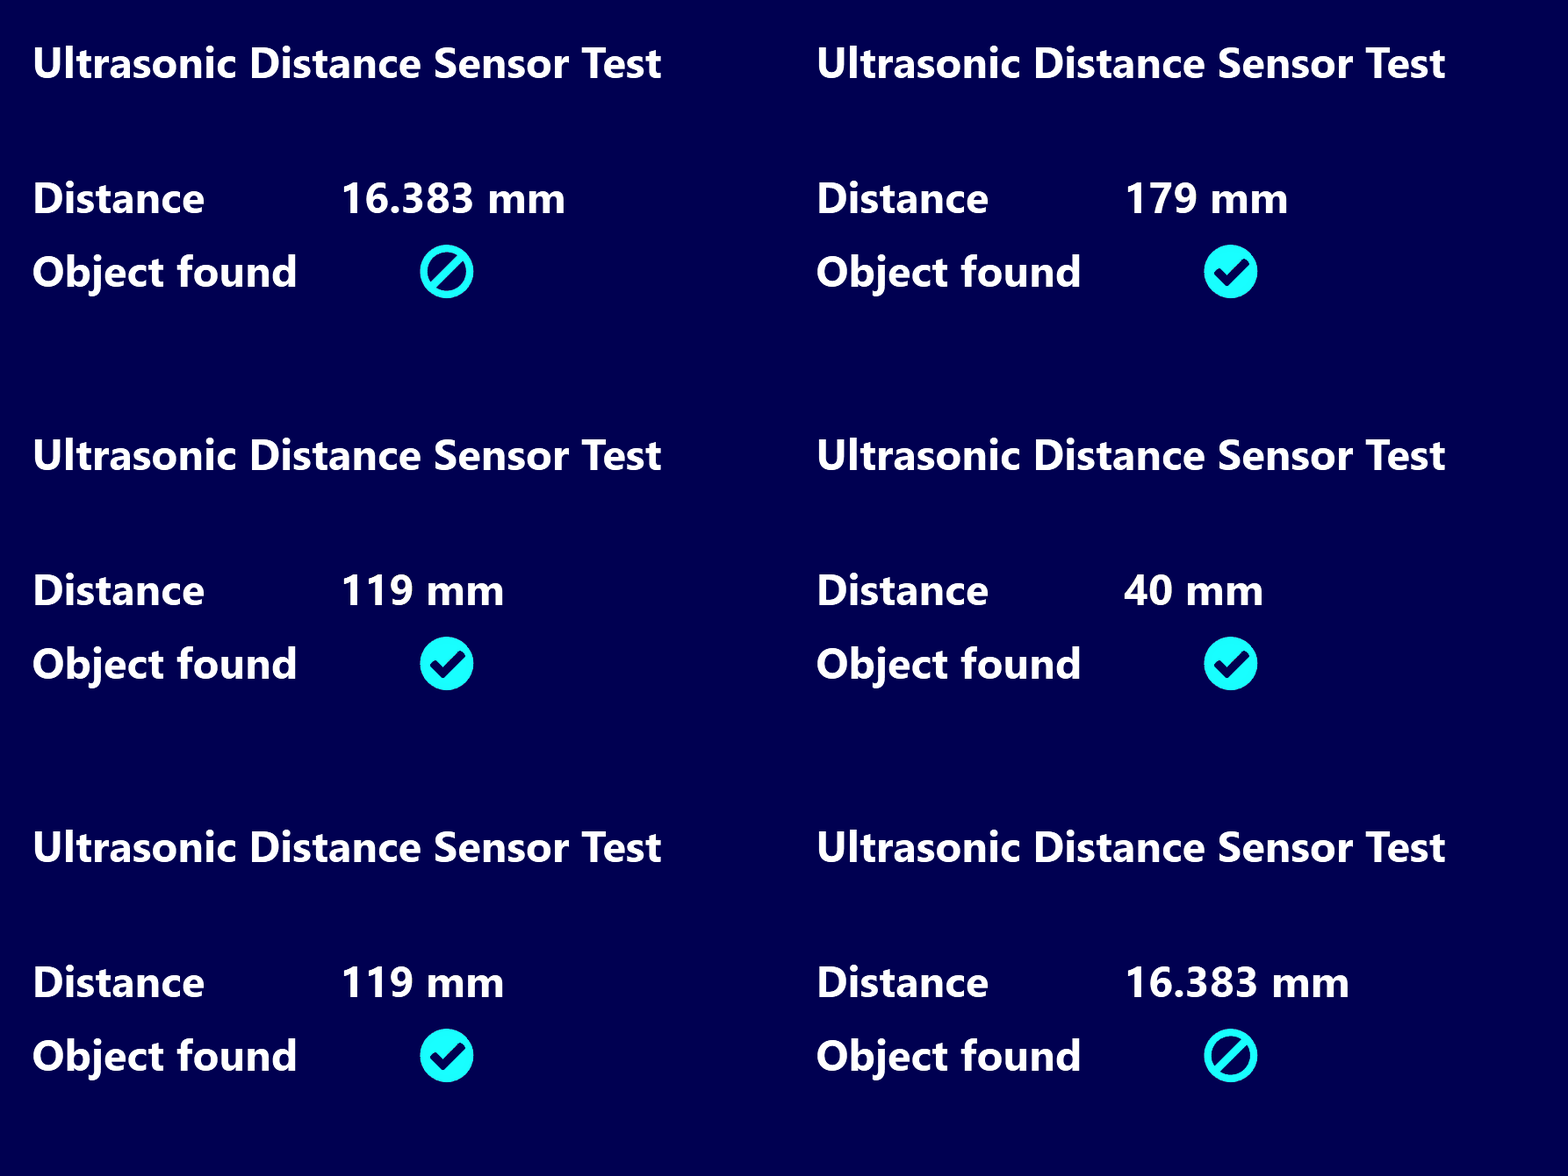
The board itself is easy to build. We bind the OPC UA source to a text field and to an icon that switches its appearance according to a conditional formatting rule.

Result
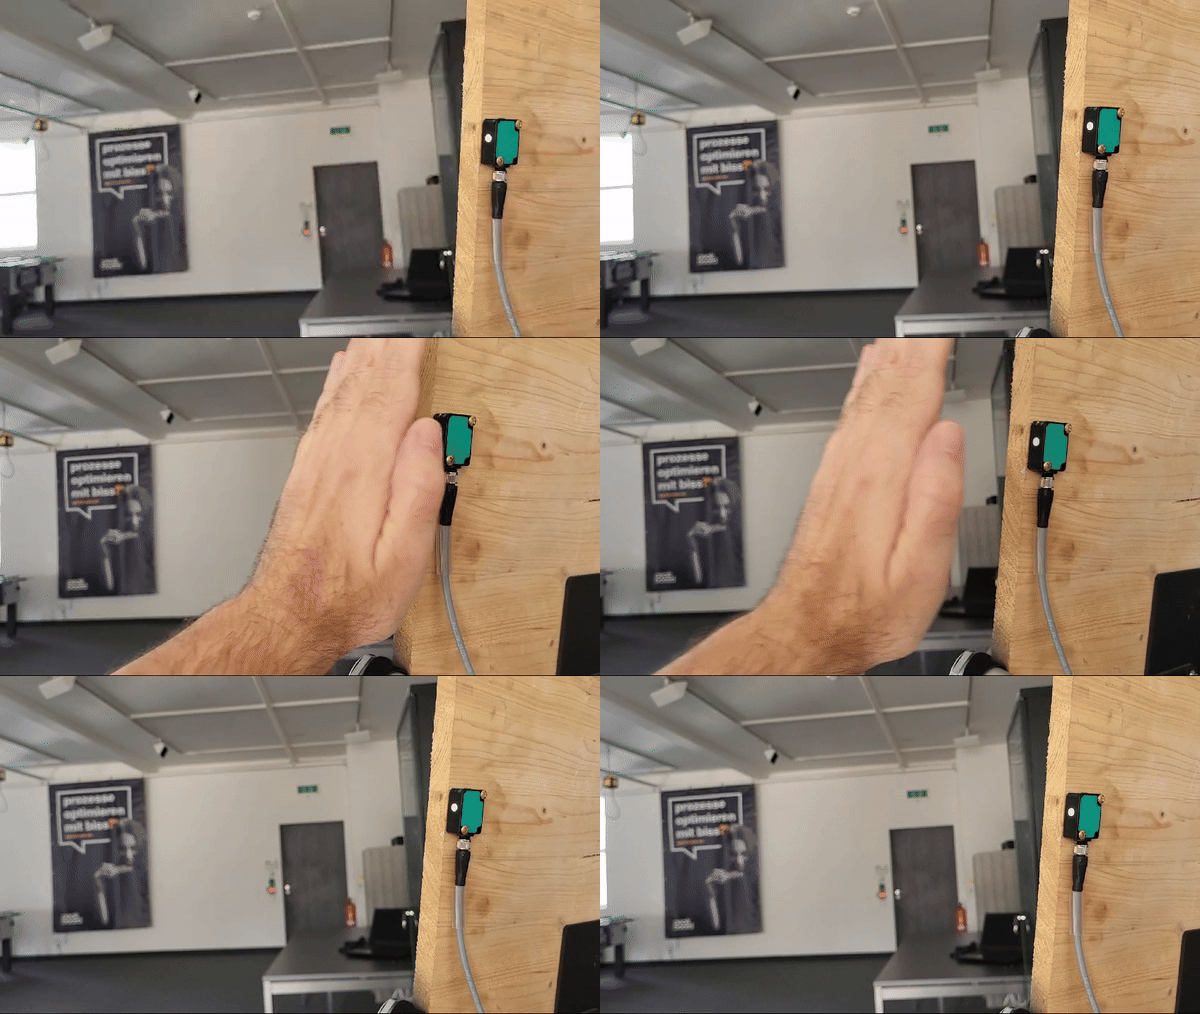
The following GIFs show the final result. Moving a hand towards and away from the sensor causes the “distance” and “object found” values to change appropriately.


