
The Peakboard Box is designed to start working as soon as you take it out of the box and connect it to power and a network. The Peakboard runtime is designed to run securely on the Peakboard Box’s hardware. All non-essential software components are switched off or put into hibernation. This reduces the attack surface.
However, it’s sometimes necessary to manage Peakboard Boxes on an administrative level. This is possible. The Peakboard Box runs on Windows, and the credentials for the Windows system are given to you during the physical delivery of the Box.
Here are some tasks that require administrative privileges to perform:
- Install Windows updates
- Install additional software to align the computer with internal security compliance guidelines
- Install additional software for an application that runs on the Peakboard runtime (e.g. ODBC drivers)
- Track and monitor error events in the event log
- Manually install Peakboard runtime updates
- Bring the device into the AD domain
Before we dive into the technical details, you must understand that accessing a Peakboard Box with administrative privileges poses a security risk, and it could reduce the stability of the system. So you should only engage in these activities when necessary.
We will use Remote Desktop to manage a Peakboard Box. But before we can do that, we first need to prepare the Peakboard Box for Remote Desktop. We will use PowerShell to do this.
Prepare for Remote Desktop with PowerShell
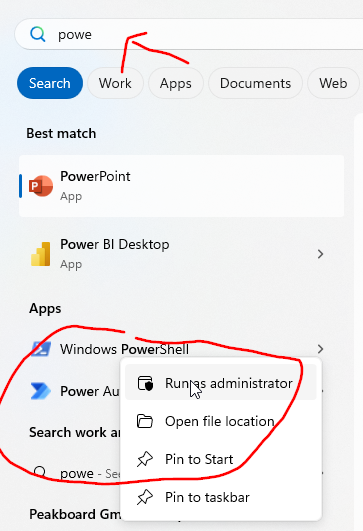
First, run PowerShell as an administrator:
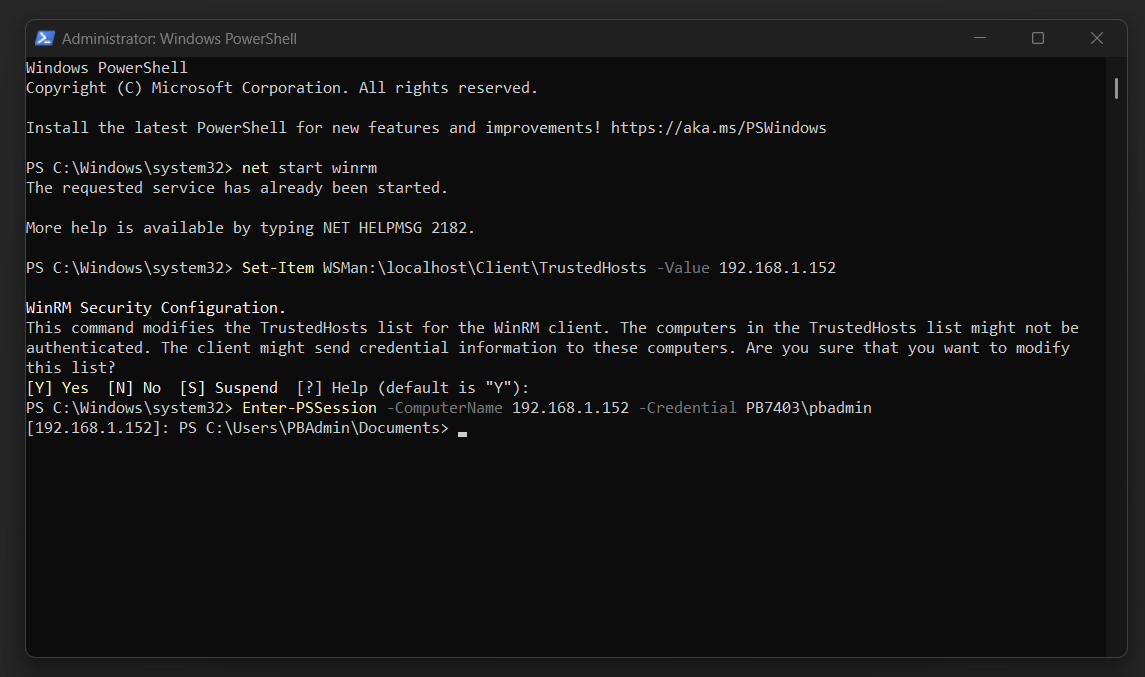
Then, run these commands:
net start winrm
Set-Item WSMan:\localhost\Client\TrustedHosts -Value {IP}
Enter-PSSession -ComputerName {IP} -Credential {Box Hostname}\pbadmin
Here’s an explanation:
- We start the
winrmservice, because we need it to manage remote administration tasks on other machines (like our Peakboard Box). - We whitelist the IP address of our Peakboard Box.
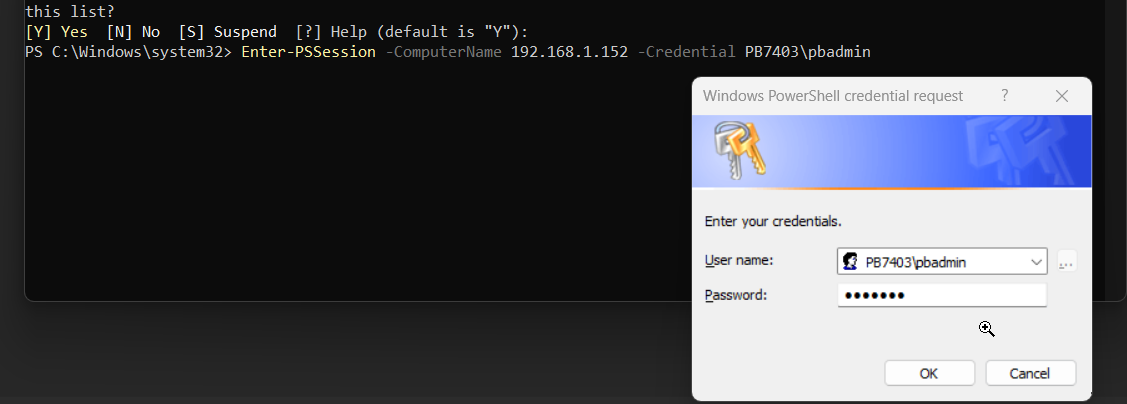
- We start a remote session in our Peakboard Box. There is a prompt for the adminstrator password.
After having successfully established the PowerShell session, we run these commands:
Set-ItemProperty -Path 'HKLM:\System\CurrentControlSet\Control\Terminal Server' -name "fDenyTSConnections" -value 0
Enable-NetFirewallRule -DisplayGroup "Remote Desktop"
exit
exit
Here’s an explanation.
- We change a value in the registry of the Box to enable remote desktop connections. (It’s disabled by default.)
- We open the port for remote desktop in the firewall.
- We exit the remote session and close PowerShell console.

Log in with Remote Desktop
Now, we can log into the Peakboard Box with Remote Desktop. Here are the steps:
- Launch Remote Desktop by using the Windows search function.
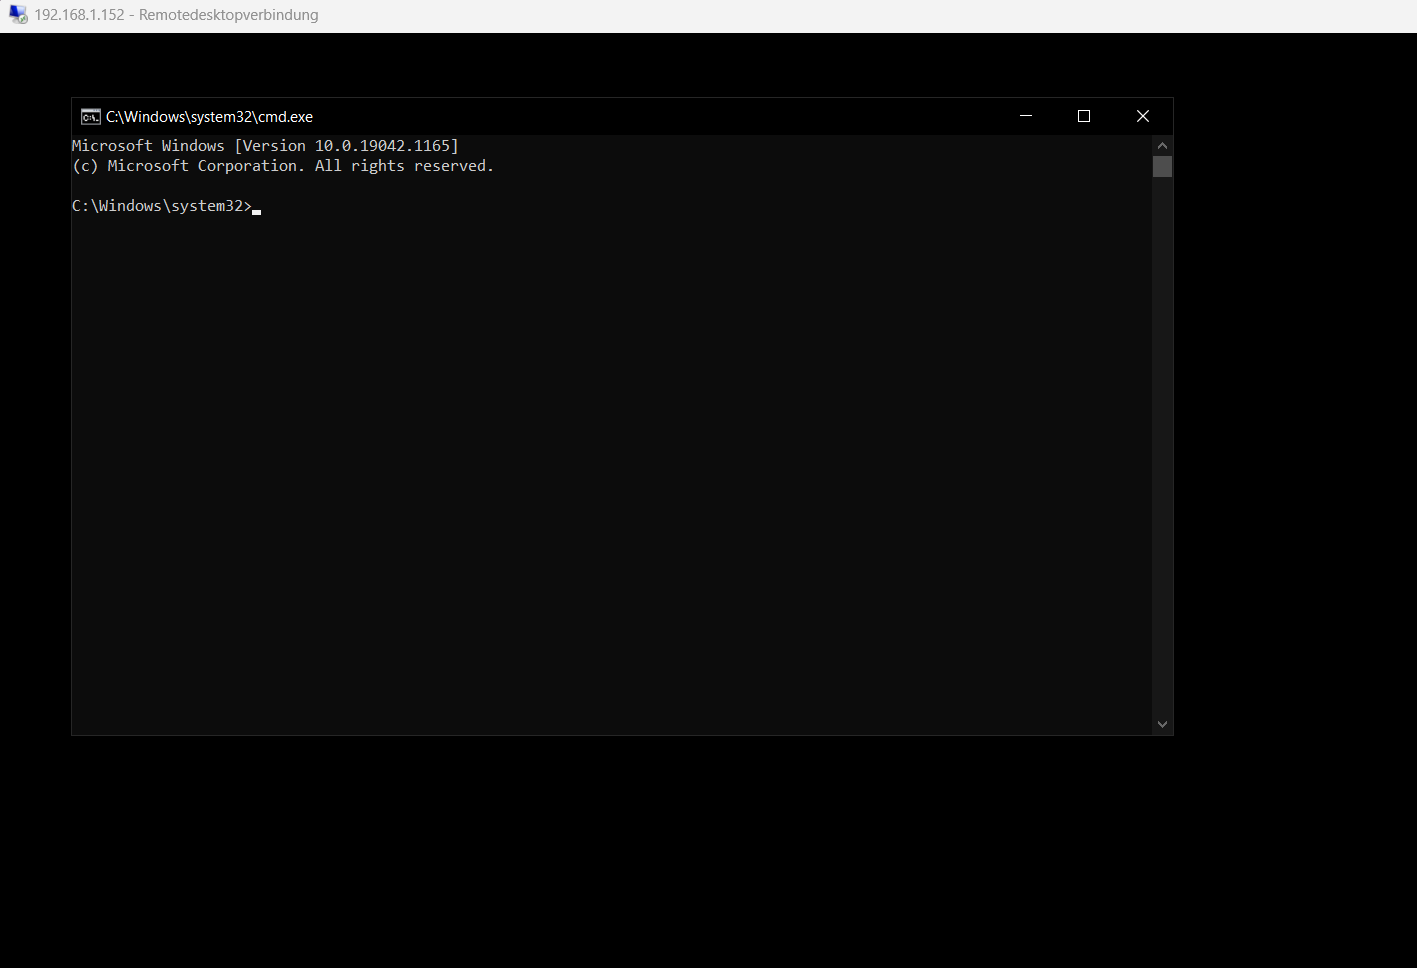
- Use the IP address and the admin credentials of the Box to initiate a Remote Desktop session. After having logged on successfully, you will see a black desktop with a single terminal window open.
- Type
explorerinto the terminal and pressEnter. Then, the standard Windows desktop environment will launch.
Exchange files with the Box
If you need to exchange files with the Box (e.g. to install an ODBC driver), use the following share:
\\{Boxname}\Share
Then, you can access the files from within the Remote Desktop or PowerShell session.
Conclusion
We explained how to access a Peakboard Box with PowerShell and Remote Desktop. Remember, doing so could have a negative impact on safety and stability when done improperly.