For years, the physical, black box has been the definitive symbol for Peakboard. But by the end of 2023, Peakboard will offer a bring-your-own-device (BYOD) edition. In this article, we will learn how to use our own device as a standalone runtime instance for Peakboard BYOD.
To download the binaries, please use this link.
Minimum requirements
The minimum hardware requirements depend heavily on your use case. But the absolute minimum requirements are:
- 1 GHz CPU with 2 cores
- 4 GB of RAM
- 64 GB of storage
Please be generous and consider these numbers as the bare minimum to get Peakboard BYOD up and running. For a smooth user experience, you’ll want to at least double these numbers.
The minimum operating system requirements for Peakboard BYOD are:
- Windows 10 (starting from version 1607), any edition, x64 (x86/ARM is not supported)
- Windows 11, any edition, x64 (x86/ARM is not supported)
On the operating system, the ASP.NET Core 3.1 Runtime (v3.1.32) - Windows Hosting Bundle must be installed.
Run the Setup
The setup itself is straightforward and offers the option to launch the runtime on startup. Usually, this is the desired behavior:
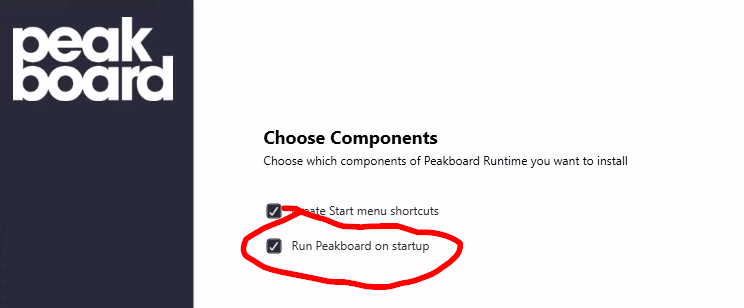
The setup will come with the regular desktop runtime application, plus the management service and web server service. We will discuss more about the runtime components in another article.
Licensing and adding the instance to the designer
Make sure that the runtime instance is running properly. Then, you can add the instance to the designer. In the initial stage the password is just empty and the user name is ‘PeakboardAdmin’.
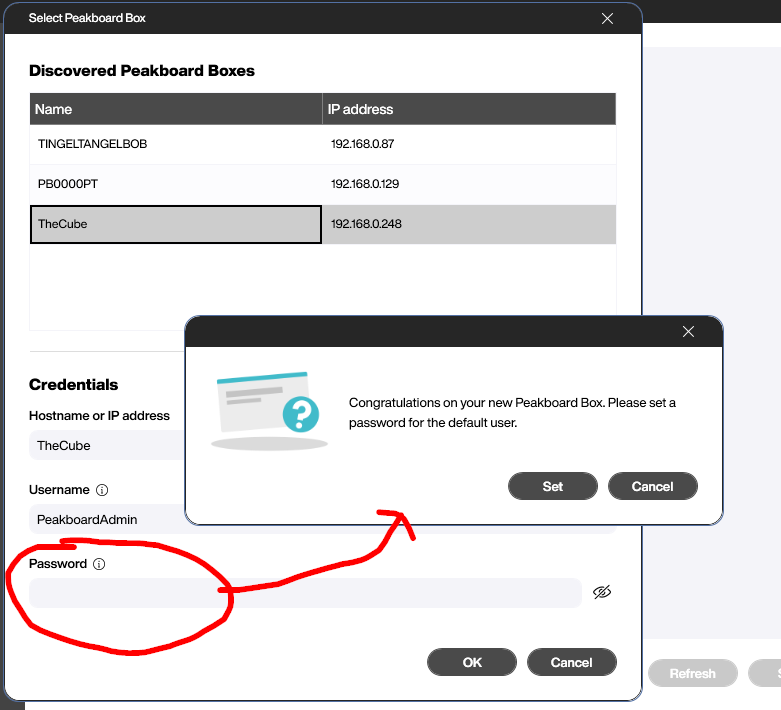
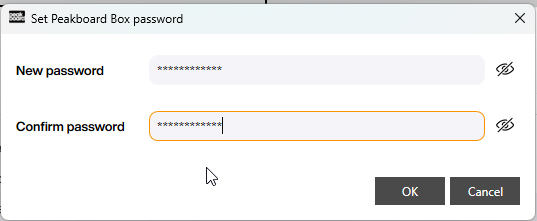
Press on ‘Set’ to set a new password for this box. Of course it’s no problem to change it later or add new users to the box.
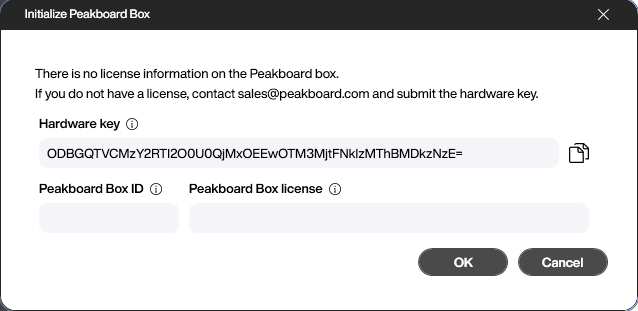
After having added the box to the designer it is still unlicensed, so the following dialog is popping up to apply the license.
To request a license from the Peakboard sales team, please send the hardware key by email. They will send you a license key and a Box ID in return. The license key is a cryptic key (around 20-30 characters long), and the Box ID usually looks like PBRXXXXX, where XXXX is a random number.
Feel free to skip this step and leave the instance unlicensed if you only want to test it. An unlicensed Peakboard BYOD instance will work without any restrictions. There will just be a banner that mentions the missing license.
Automatic logon
In common use cases, the runtime is supposed to launch automatically after the device is switched on. So the first step is to perform a Windows logon automatically after boot. This is done through a registry key.
Ideally, there’s a local Windows account on the machine used for the automatic logon. You can run this PowerShell script to set the registry key for the automatic logon. Just provide the username and password.
$Username = Read-Host 'Enter username for auto-logon (f.e. domain\peakboard)'
$Pass = Read-Host "Enter password for $Username"
$RegistryPath = 'HKLM:\SOFTWARE\Microsoft\Windows NT\CurrentVersion\Winlogon'
Set-ItemProperty $RegistryPath 'AutoAdminLogon' -Value "1" -Type String
Set-ItemProperty $RegistryPath 'DefaultUsername' -Value "$Username" -type String
Set-ItemProperty $RegistryPath 'DefaultPassword' -Value "$Pass" -type String
To launch the runtime automatically after automatic logon, just place a shortcut for the Peakboard.Runtime.Wpf.exe in the user’s directory of %appdata%\Microsoft\Windows\Start Menu\Programs\Startup (e.g. C:\Users\michelle\AppData\Roaming\Microsoft\Windows\Start Menu\Programs\Startup).
The setup can do this for you, if you choose the option during the installation process.
Making things even smoother
The steps described above are the main steps to get Peakboard BYOD working on a regular device. However, you may want to make the user experience even smoother and hide “Windows” from the end users. Here are some steps for doing this:
- Use a solid, black desktop background
- Remove all shortcuts from the desktop
- Hide the taskbar
- Use a solid, black profile picture for the account on which the runtime instance runs
- Adjust the Windows energy settings according to your use case (usually, this means disabling screen timeout and automatic sleep)