In fall 2023, a new version of the Peakboard Edge box was released. Version 1 was released in 2019 and only allows for very simple sensors with an on/off state (e.g. light sensors). Edge 2 allows for and fully supports analogue sensors that operate in a certain range.
This article is a step-by-step guide on how to setup an Edge 2 box and use a humidity and temperature sensor to display the humidity and temperature in a Peakboard application.
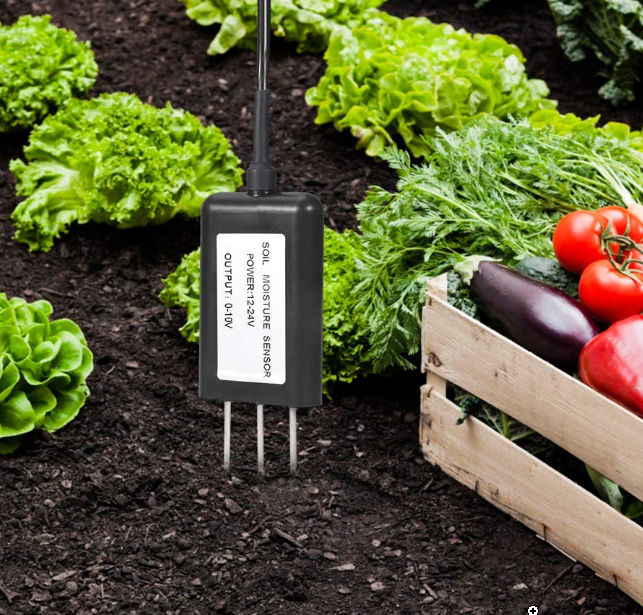
The sensor we use in this article can be found on Amazon. But any sensor of the same kind will do. They all work in the same way and follow the same pattern.
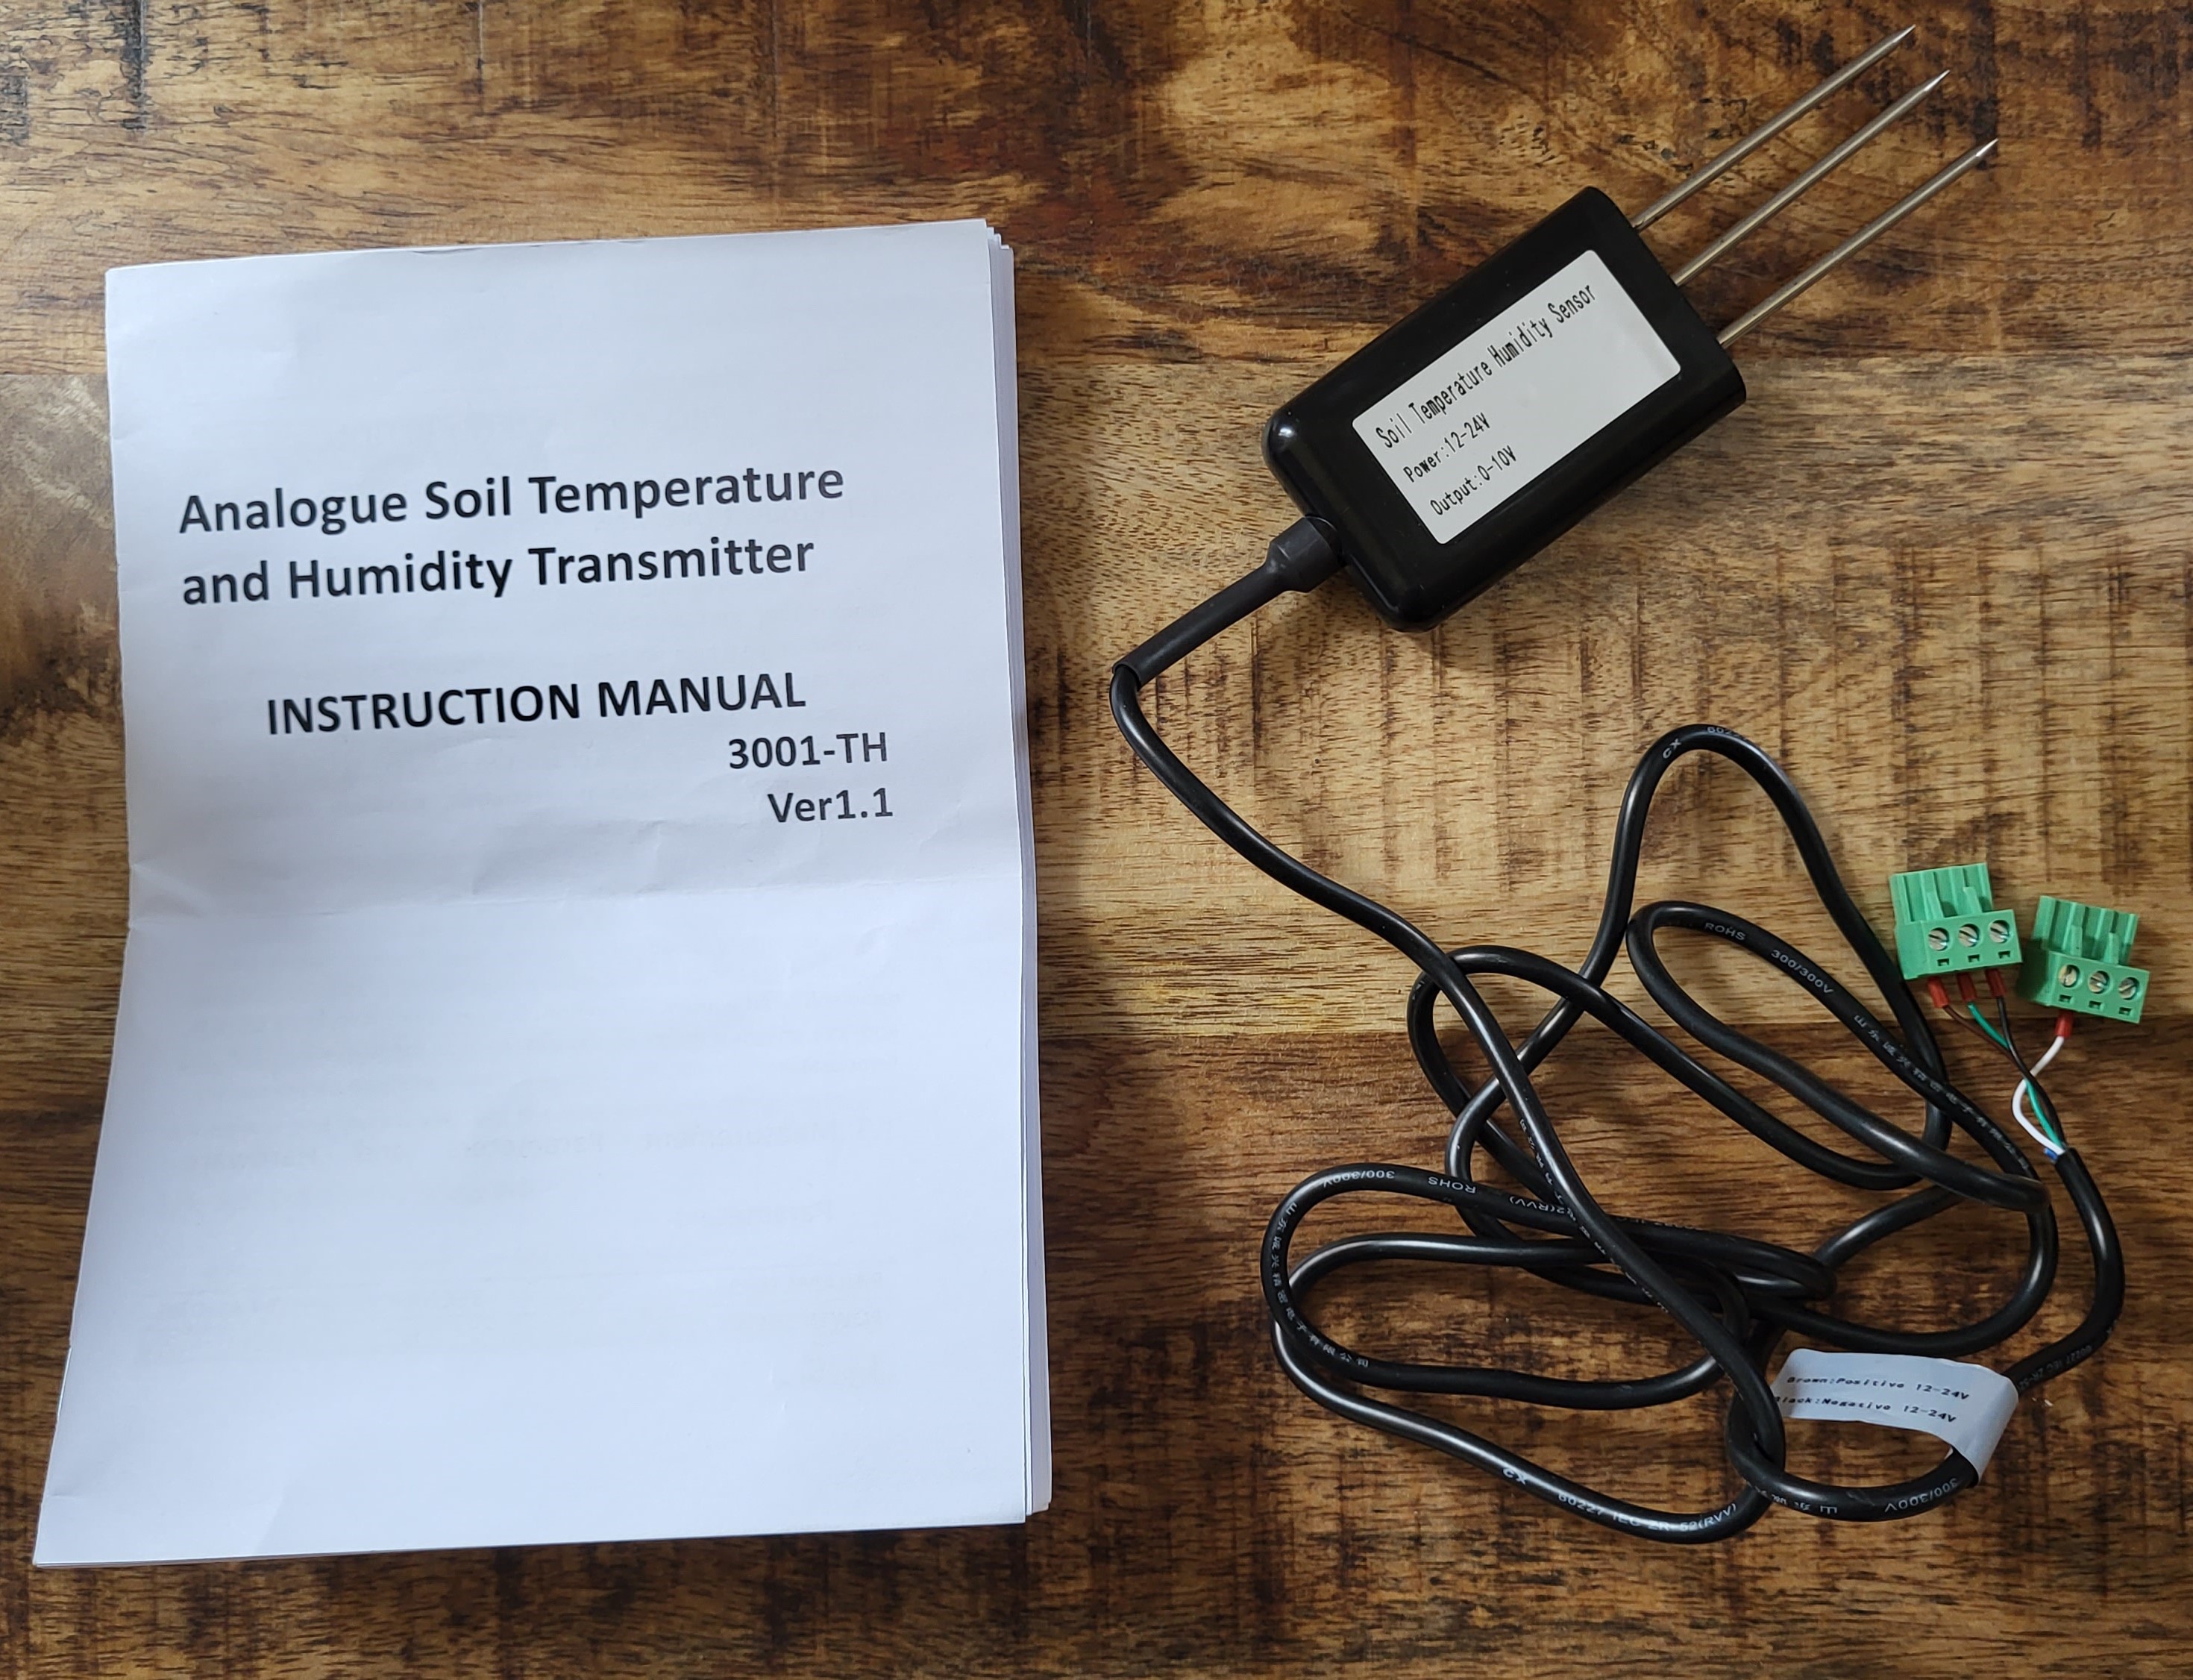
Here’s how the sensors looks like after unpacking:
Connect sensor to Edge 2
Edge 2 offers four I/O ports. Each of them comes with three plugs:
- Power supply positive
- Power supply negative
- Sensor output current
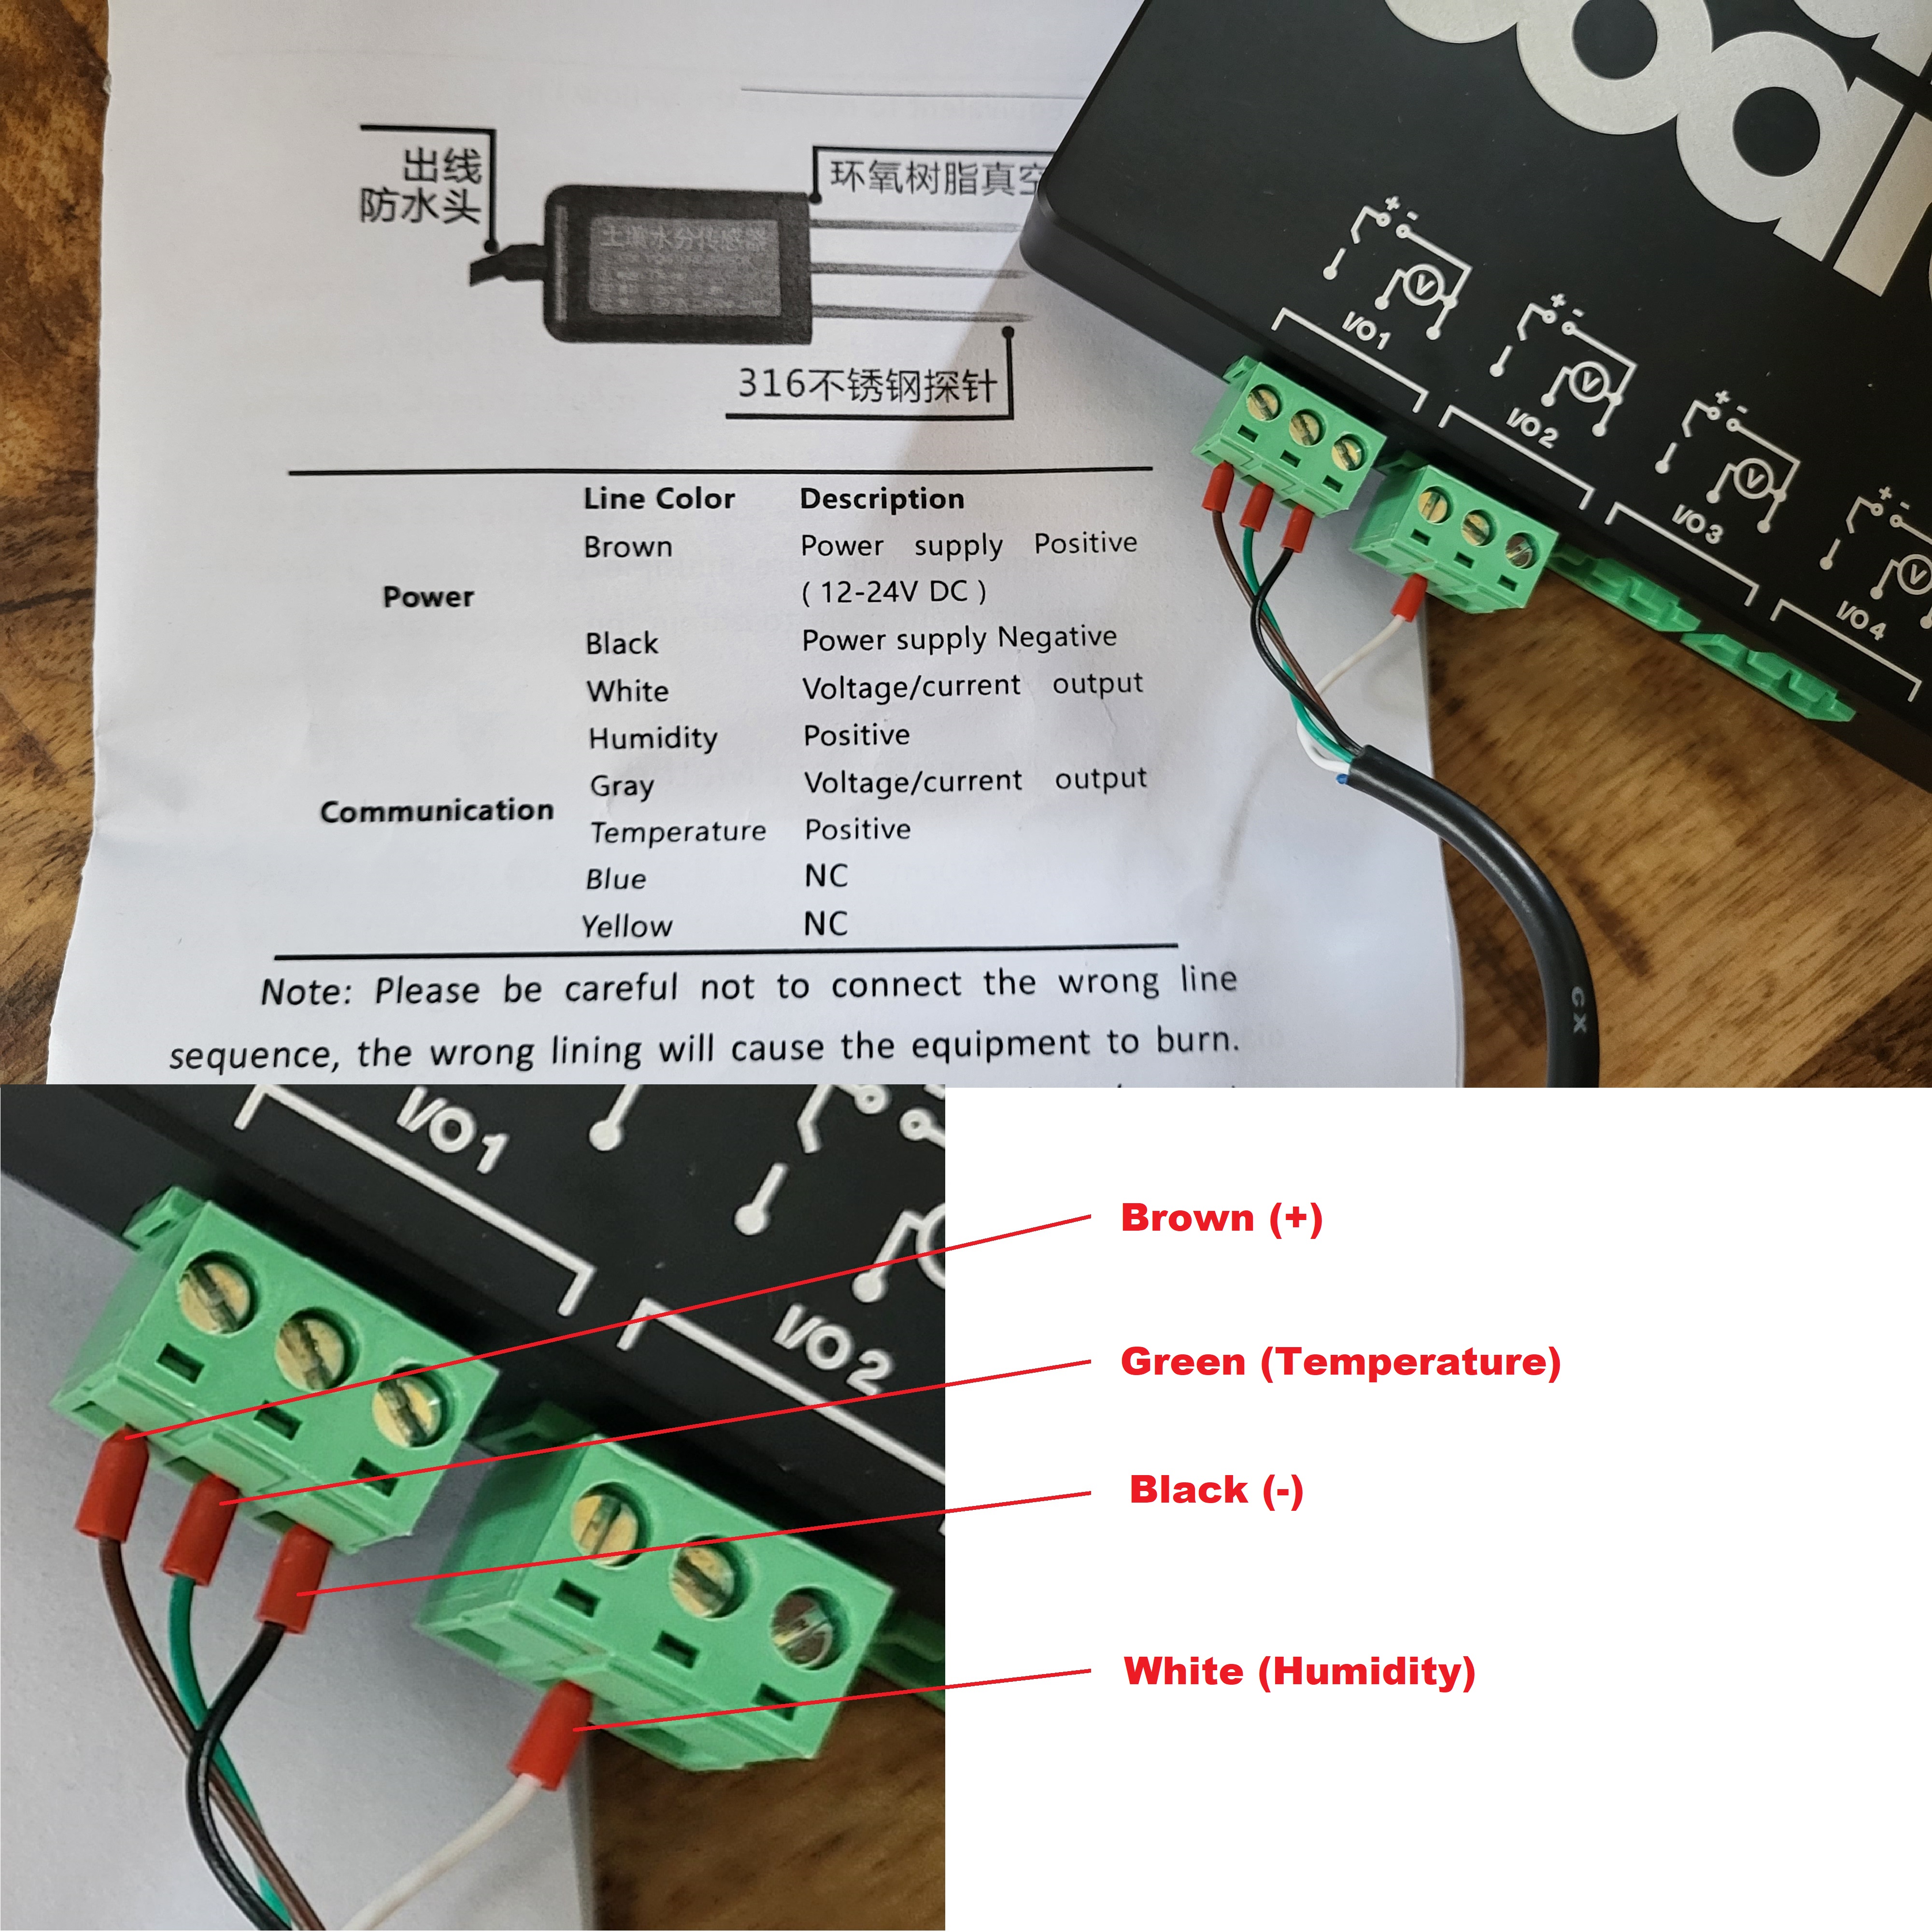
This picture shows how the brown wire (positive) and the black wire (negative) must be connected to the first I/O port.
As the sensor has two outputs (temperature and humidity), we mount the first to the current input of I/O 1 and the second to the current input of I/O 2. The second sensor (and I/O 2) doesn’t need additional power. The power for both sensors comes from the brown and black cables.
Please note that the documentation here is wrong. It says that a gray cable represents the temperature. In fact, the cable is green.
After that, we’re pretty much done and can now boot up the box and connect it to a network.
Set up Edge 2 in Designer
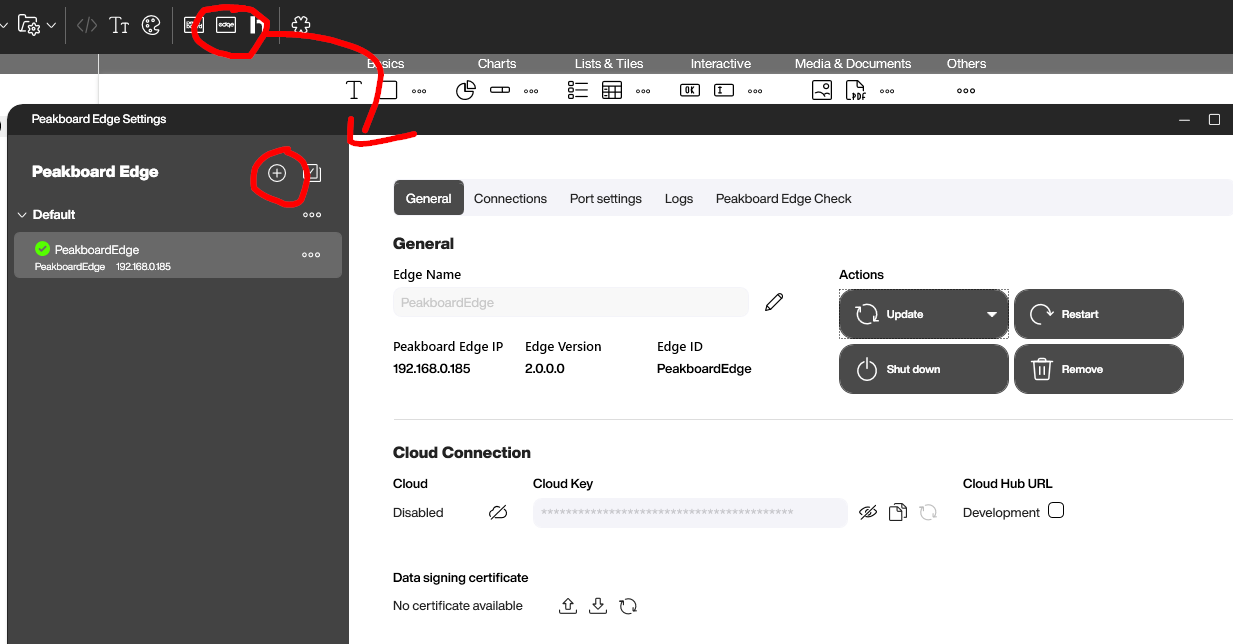
Adding the Edge box
With the Peakboard Designer, there’s a special dialog for maintaining all Edge boxes. Just add the box with its IP address and credentials to the box collection. You might want to use the Connections tab to connect it to Wi-Fi.
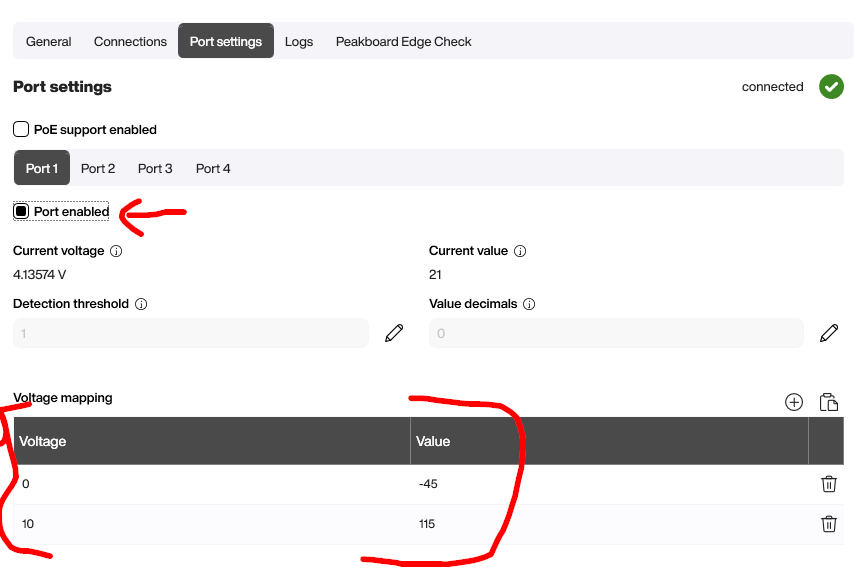
Here’s the most important part: configuring the ports. We can see in the sensor documentation that the temperature sensor covers a range of -45 to 115 degrees Celsius, which is represented by a current of 0-10 V. This is what we put in the translation table.
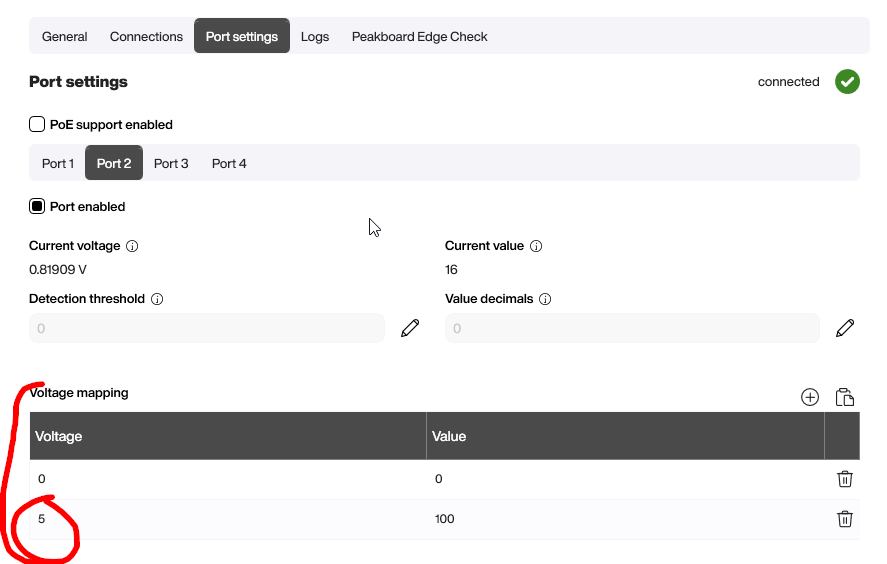
We do the same thing for humidity. Here, the documentation says that the maximum humidity is represented by 10 V. However, when we actually put the whole sensor into a glass of water, the value goes up to 4.92 V. That’s why we let 5 V represent a humidity of 100%. Maybe the Chinese manufacturer of the sensor calculates humidity in a different way. Who knows?
Creating the dashboard
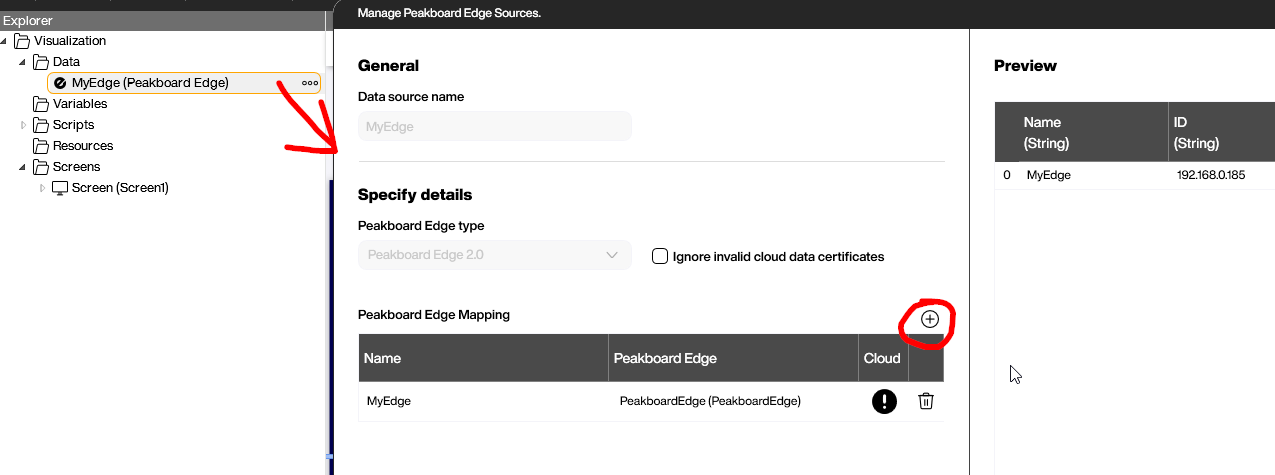
Finally, we need to add an Edge data source.
The previous step was only to set up the Edge box itself. And we only need to do that once. Every time we actually use the Edge box, we can just add a data source for the box. That’s it. All the configuration is already done.
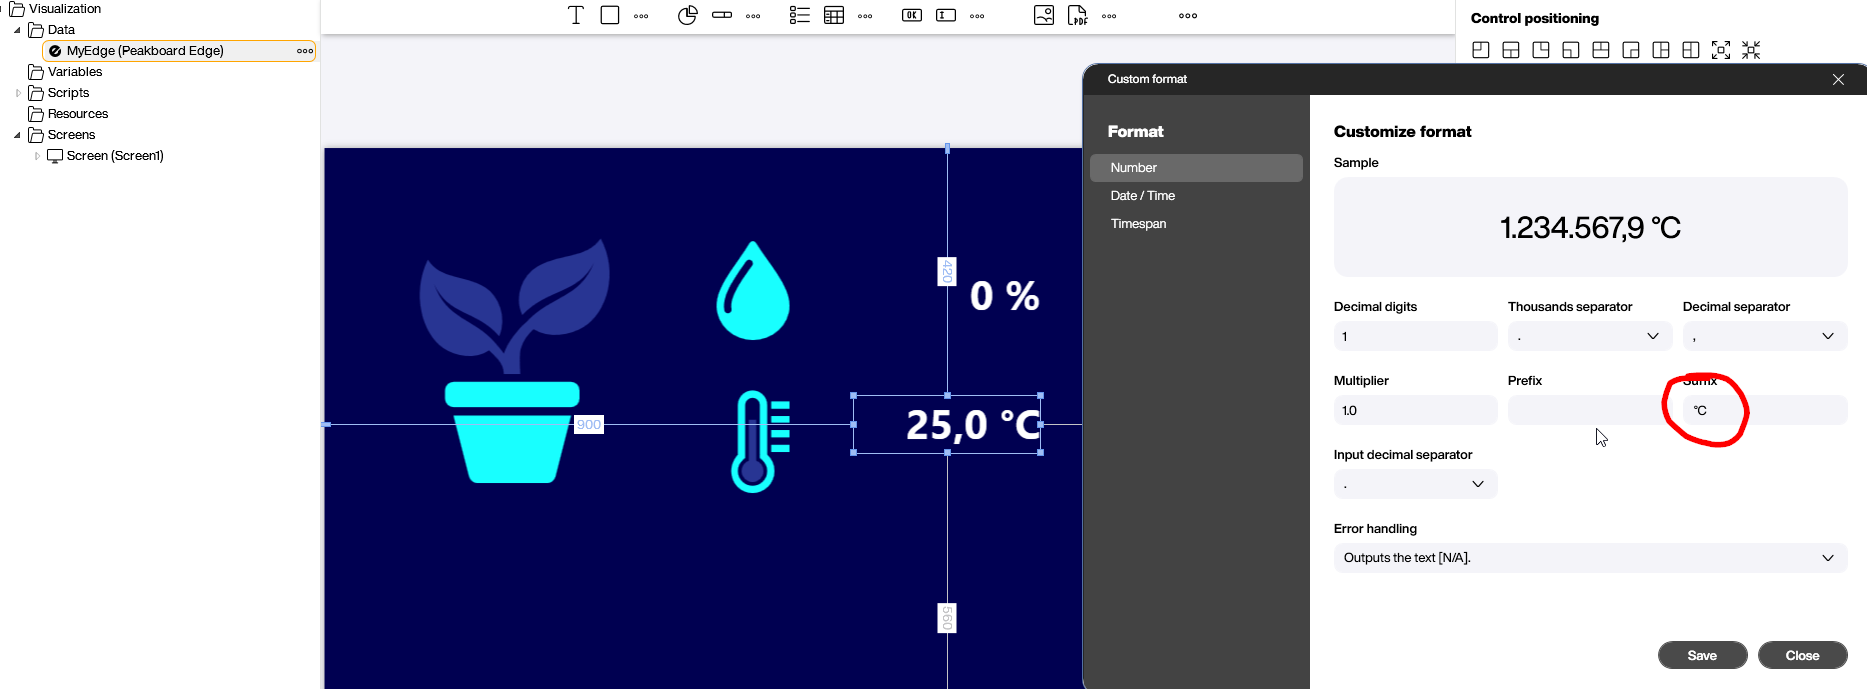
The Peakboard canvas itself consists of a couple of icon controls and text boxes that are bound to the Edge data source. The only thing to mention here is that you should carefully check the unit and format of the values:
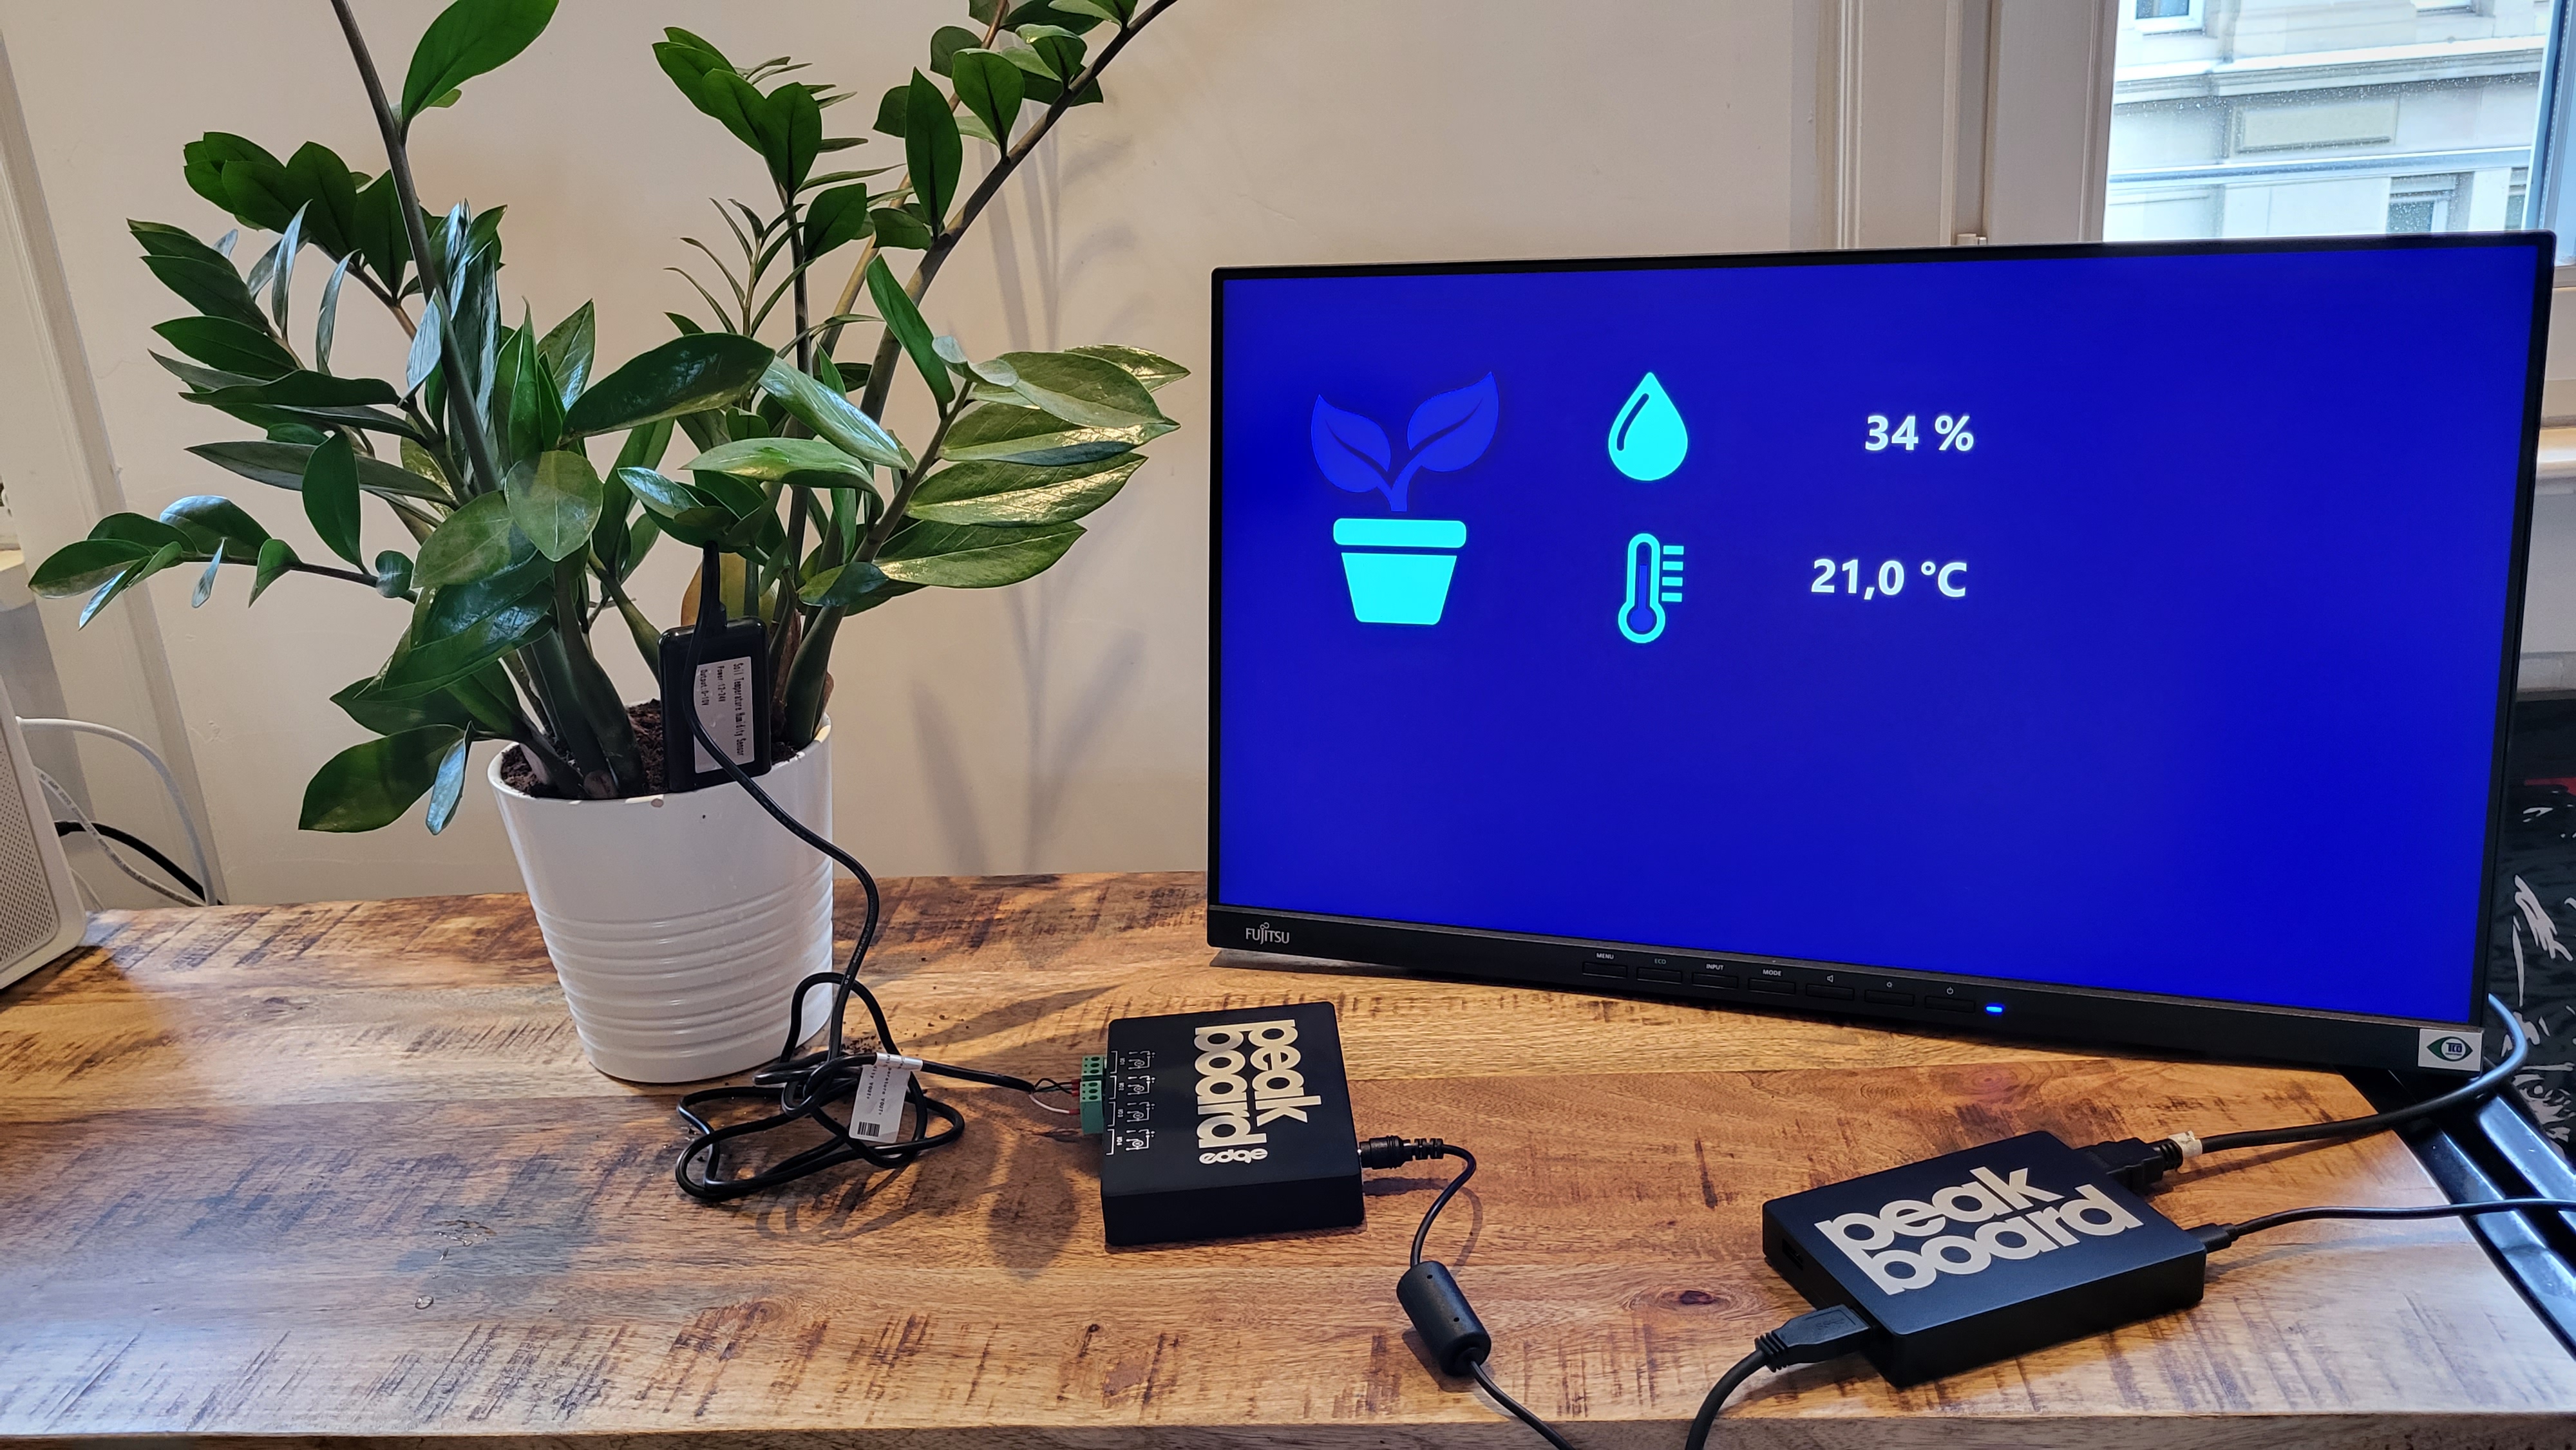
And then we’re set. Here’s what the board looks like in real life: