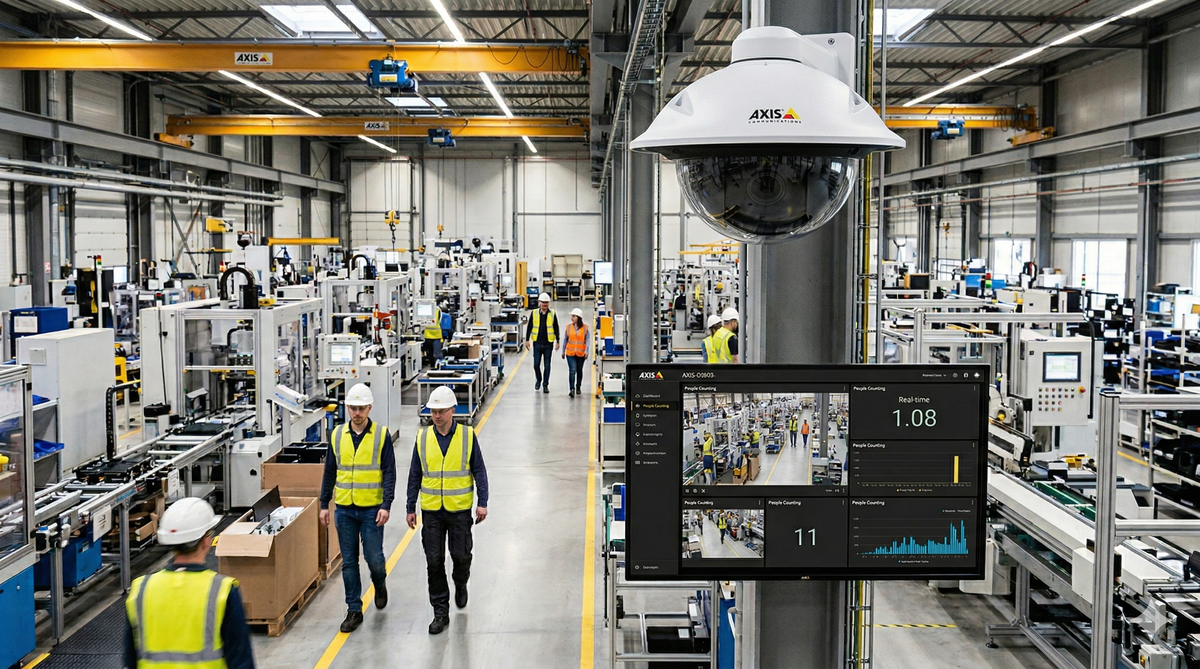
The Swedish company Axis Communications is one of the world’s leading manufacturers of network cameras and surveillance solutions. Their AXIS Q3556-LVE is a compact, outdoor-ready dome camera that comes with a 4K sensor, built-in IR illumination, and advanced analytics powered by ARTPEL, Axis’s deep learning processing unit. Beyond just capturing video, the Q3556 can run edge-based AI to detect and classify objects, people, and vehicles directly on the device without needing a separate server.
In this article we will have a look at the basic configuration settings of the camera and how to integrate advanced object detection along with the camera stream into a Peakboard application.
Setting up the camera
The camera comes with a typical web portal for any kind of configuration. We just point the browser to the camera’s IP address and log in with the admin credentials. From here, we can adjust the image settings like exposure, white balance, and wide dynamic range to get the best picture for the environment. The stream configuration lets us define resolution, frame rate, and compression for up to multiple parallel streams, which is useful when we need a high-res stream for recording and a lighter one for Peakboard. We also find the analytics section where we can set up object detection zones, configure counting lines, and define rules for triggering events when certain objects appear or cross a boundary. Network settings, user management, and VAPIX API access are all managed here as well, making the web portal the central place to get the camera ready before connecting it to Peakboard.
In our example we will connect the camera to an MQTT server. The settings are mostly self-explanatory.

Also for our example we will use an app for object detection, which is a plugin for the camera’s built-in AI engine. The Apps menu lets us check if the app is installed correctly and available for use.
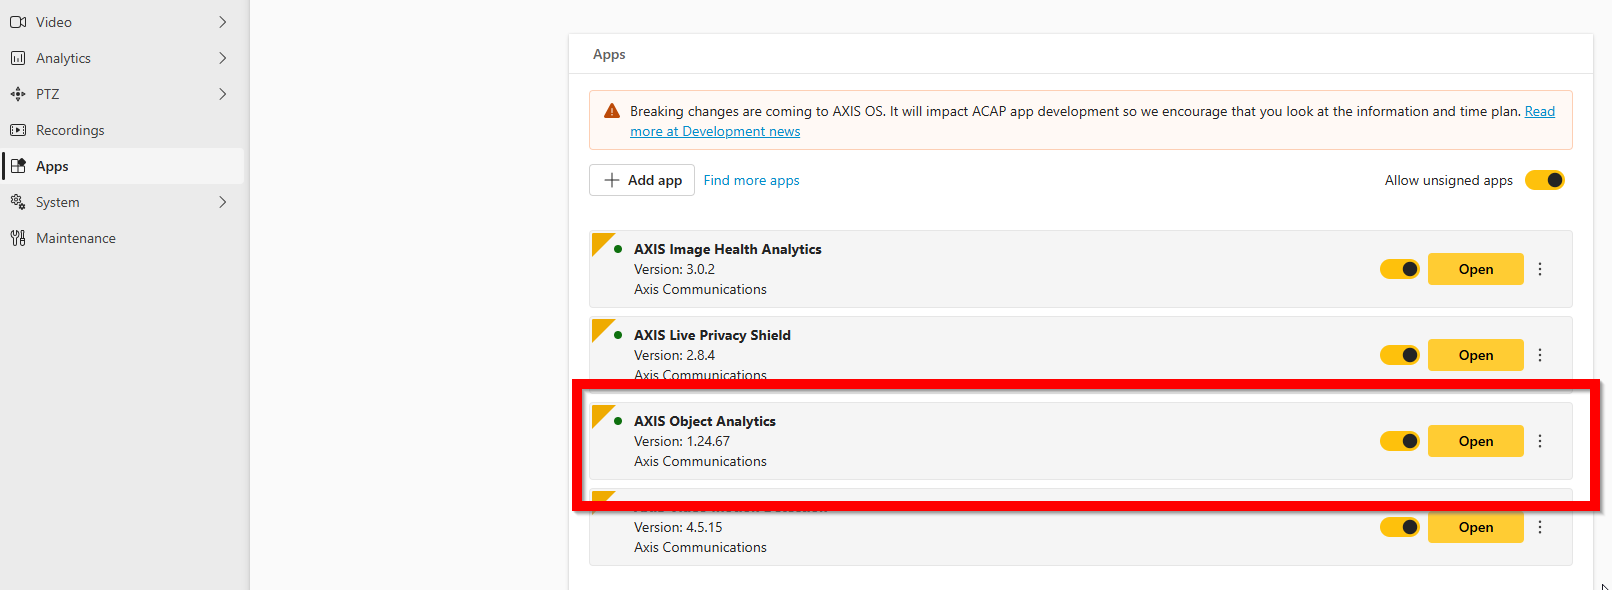
The app itself can then be opened from within the portal under the Analytics area.

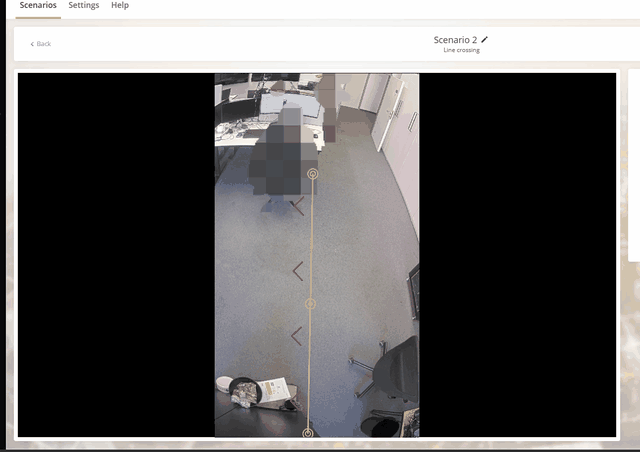
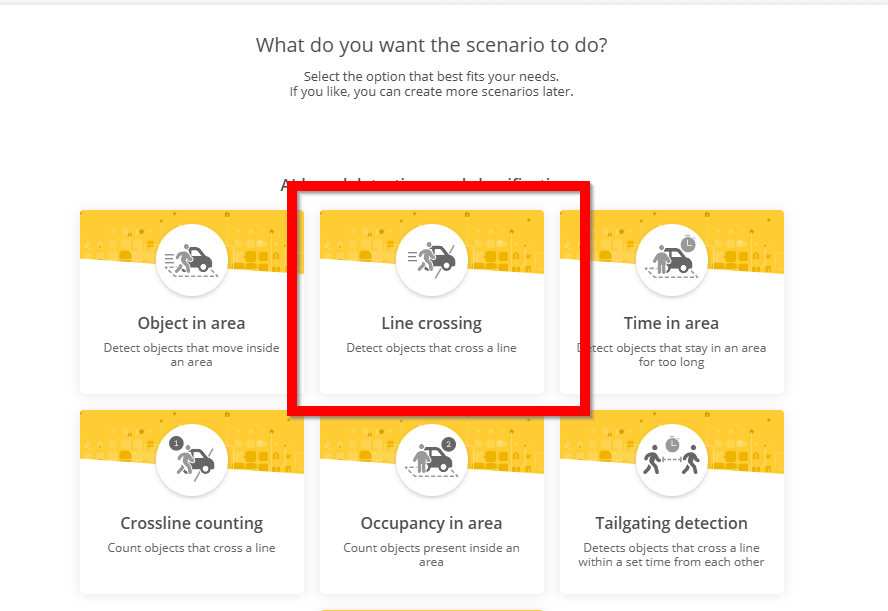
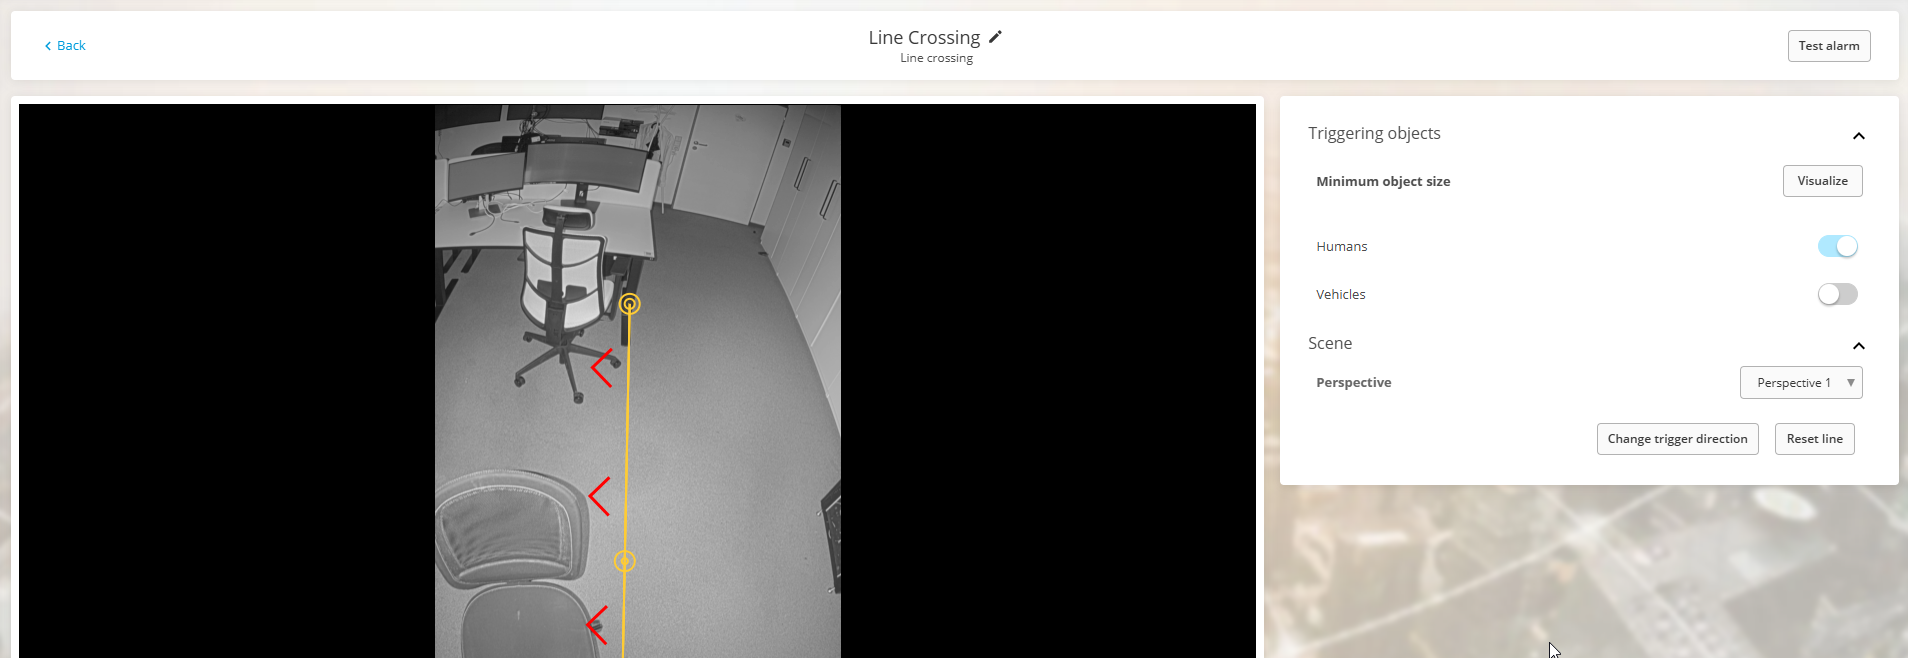
In the analytics app we create a so-called scenario. A scenario can be seen as one dedicated action that is monitored within the camera. Later, multiple scenarios can be combined of course. For our example we choose Line crossing and then Human, because we want to monitor how many people are crossing an imaginary line within the camera image.
In the last step we configure the actual line and crossing direction that is monitored. We can freely move and adjust it within the camera image and finally save it.
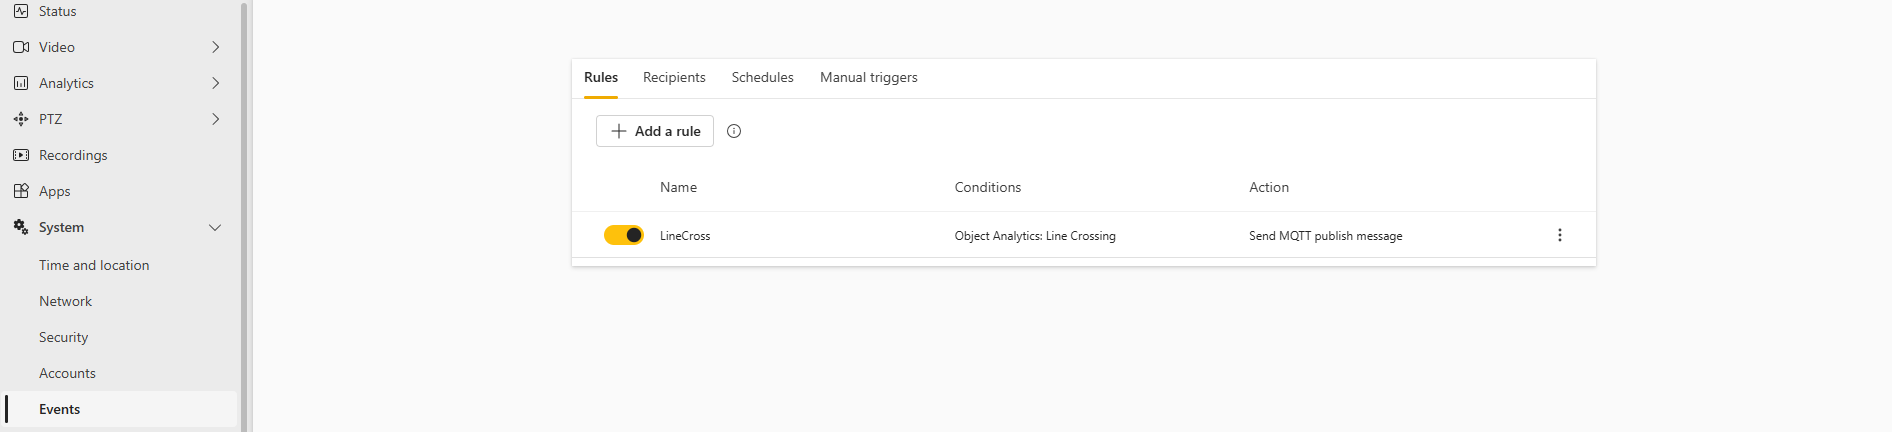
As soon as the scenario is active, it creates an event. The event alone does not yet lead to an MQTT message. That’s why we need to link these two by creating a rule in the corresponding area of the configuration portal. When creating a new rule, we need to provide a condition. One of the potential conditions that are available are the Object Analytics scenarios we created earlier.
Building the Peakboard app
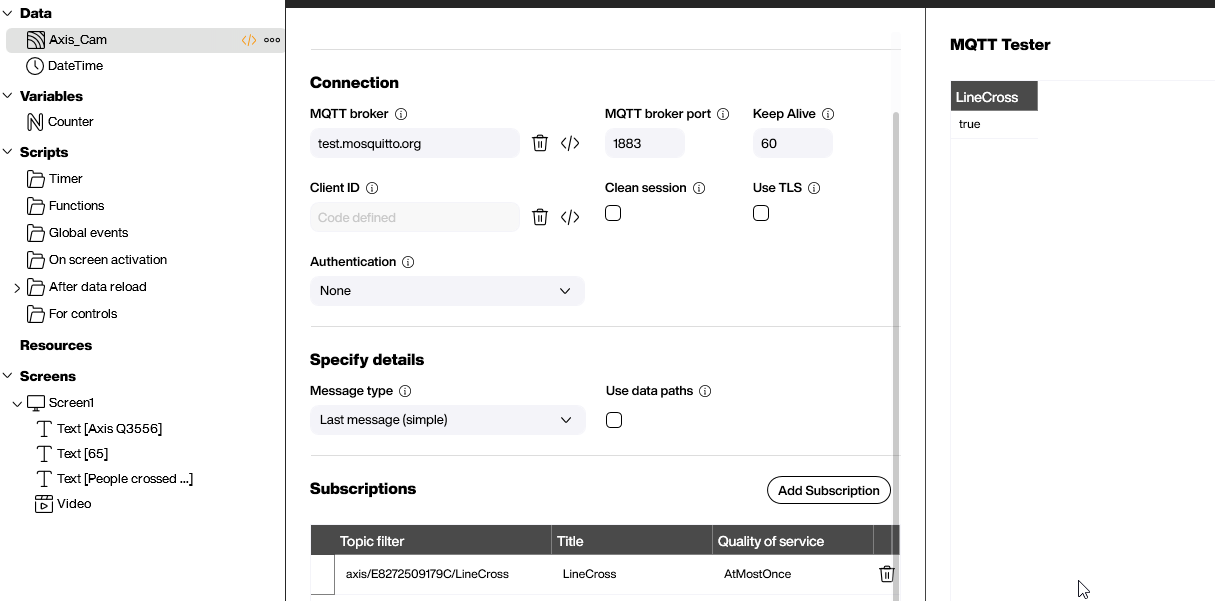
Building the Peakboard app is straightforward. The data source is a regular MQTT server with a subscription to the topic that we defined in the rule.
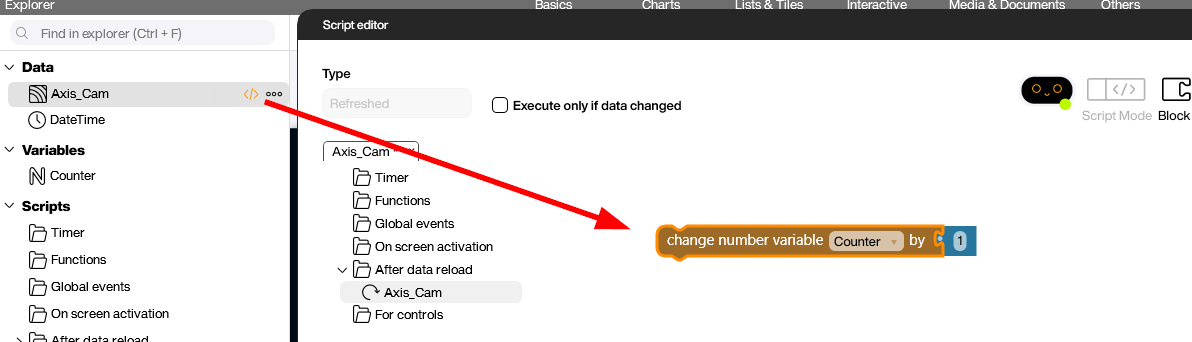
That’s all we need to do to subscribe to the event and build the subsequent processes, e.g. in the refreshed script of the data source. In our case we just increase a simple counter when the MQTT message arrives because someone crossed the line.
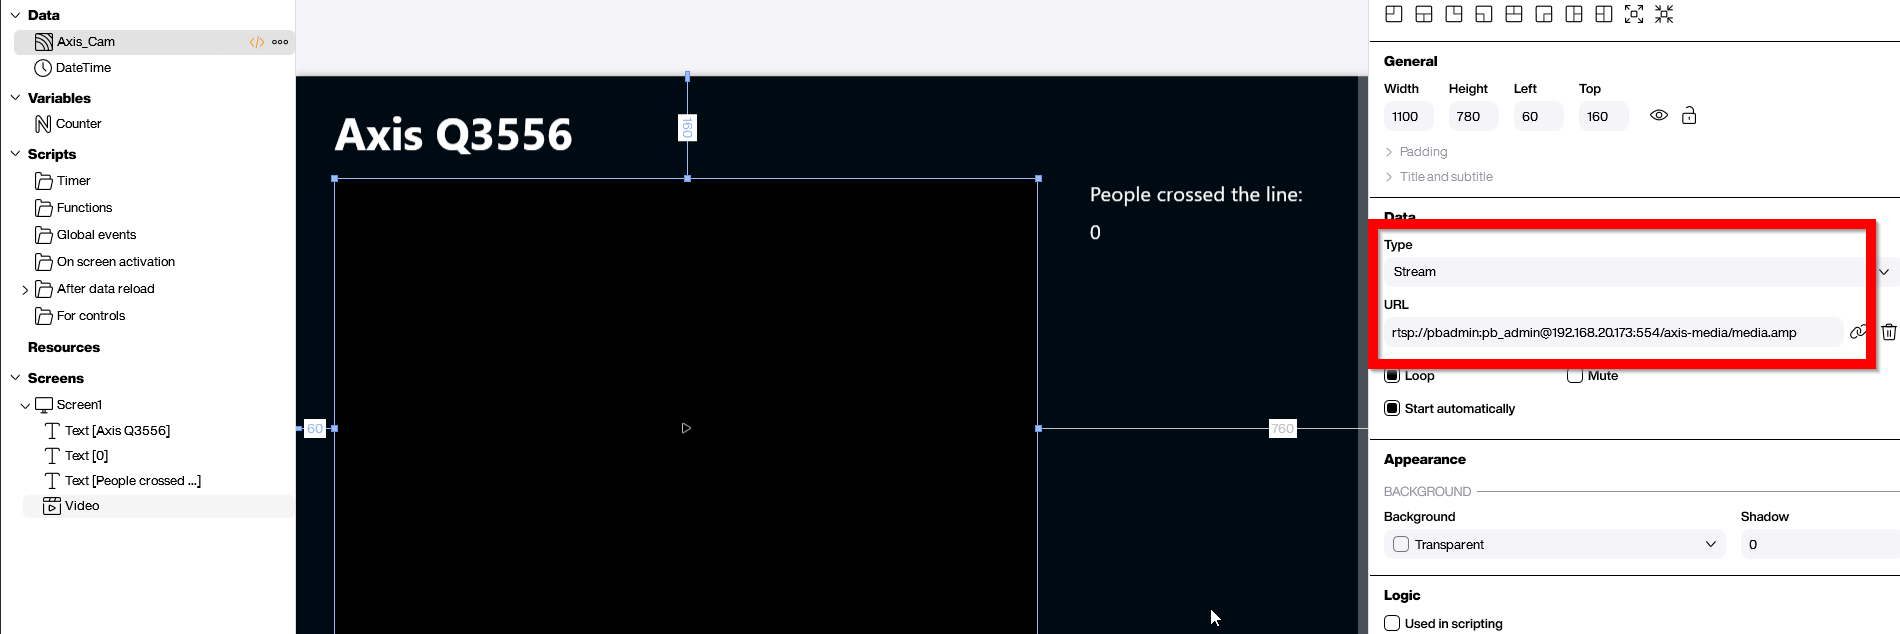
For the camera stream we just use a video control. The RTSP stream is published under the address rtsp://<UserName>:<Password>@192.168.20.173:554/axis-media/media.amp.
Result
As we have seen, the steps necessary to integrate an Axis camera into a Peakboard application are pretty straightforward — for both the stream and the actual object analytics events. This basic principle still applies when things get much more complicated, with more cameras, more logic, more events, and even custom-trained objects or whatever additional tasks the future will bring.